Technics RP-DH1200 Replacement Pads

The Technics RP-DH1200 replacement ear pads are approximately 9 cm in diameter and fairly simple to install but requires some fiddling as one can imagine.
The original pads did not have a cloth filter, which prevents dirt from getting into the drivers. Instead, they stuck foam on the front panel, which in mine had to be removed as it had perished and foam particles were getting into the drivers. In place of the foam material, I was thinking of using a pair of ladies tights, which would be sufficiently thin enough to act as filters. However, one advantage of these cheap ear pads from China was that it already has a cloth filter to protect the drive units.

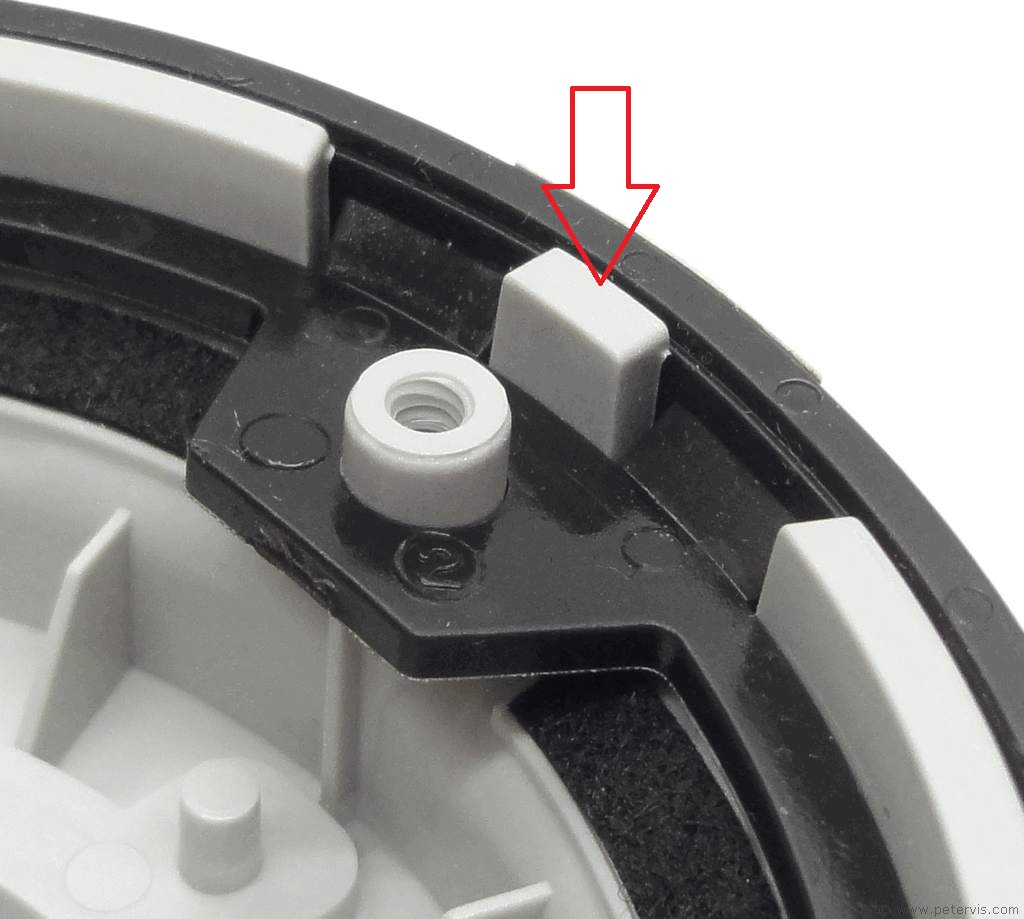
Since in my case I had dismantled the front panel from the ear cups, it was much easier to install the pads first and then solder the wires. If you are installing the pads with the wires attached, then be very careful as they are thin and can brake easily. For assembly, some basic things to consider is to mark the location of the screws, and align the plastic peg with the notch (shown by the red arrows in the photographs below), and hopefully it will be less fiddly then.

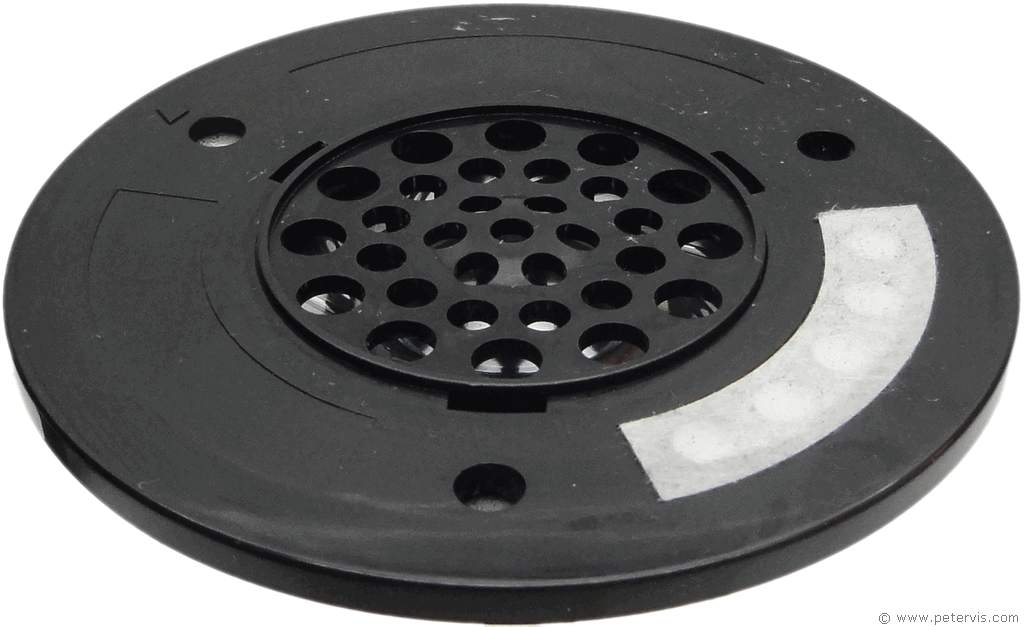
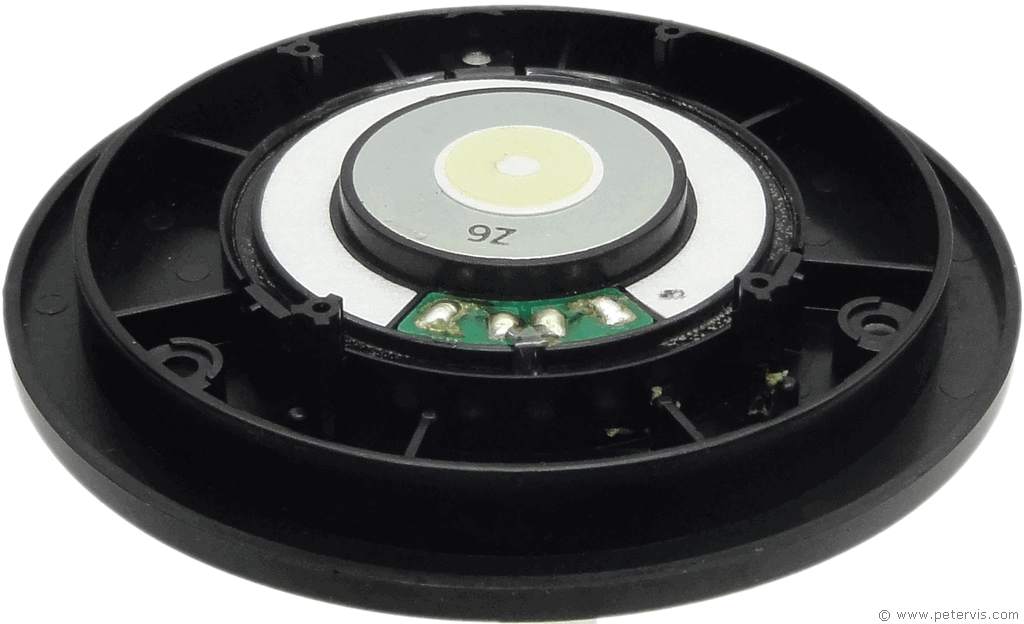
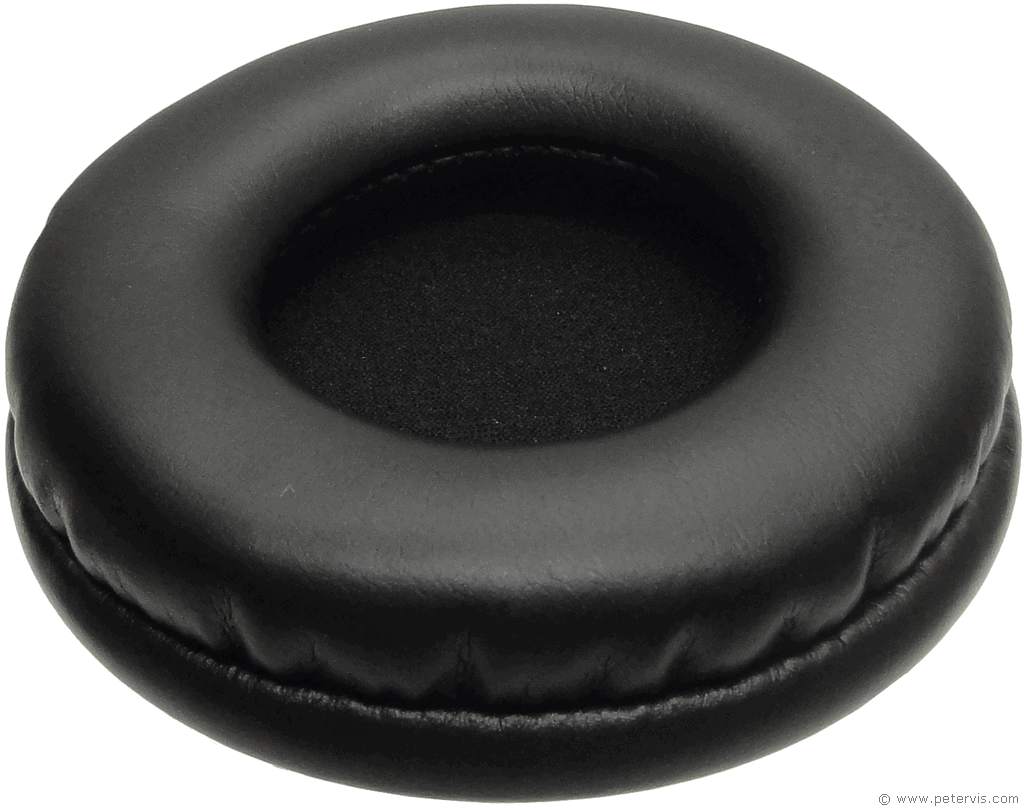
As you can see when you install new pads, it also has an integrated cloth filter. One question one might have is that if you install the pads, the cloth filter covers the screw holes, so how would one install the screws? The material is stretchy; hence I used a sharp-pointed thin Philips screwdriver to pierce through it. However, this means putting the screws into their recessed holes before installing the ear pads! The holes left behind by the screwdrivers are very small and negligible. The thing worth remembering is to mark the location of the screws, which can save time looking for them.
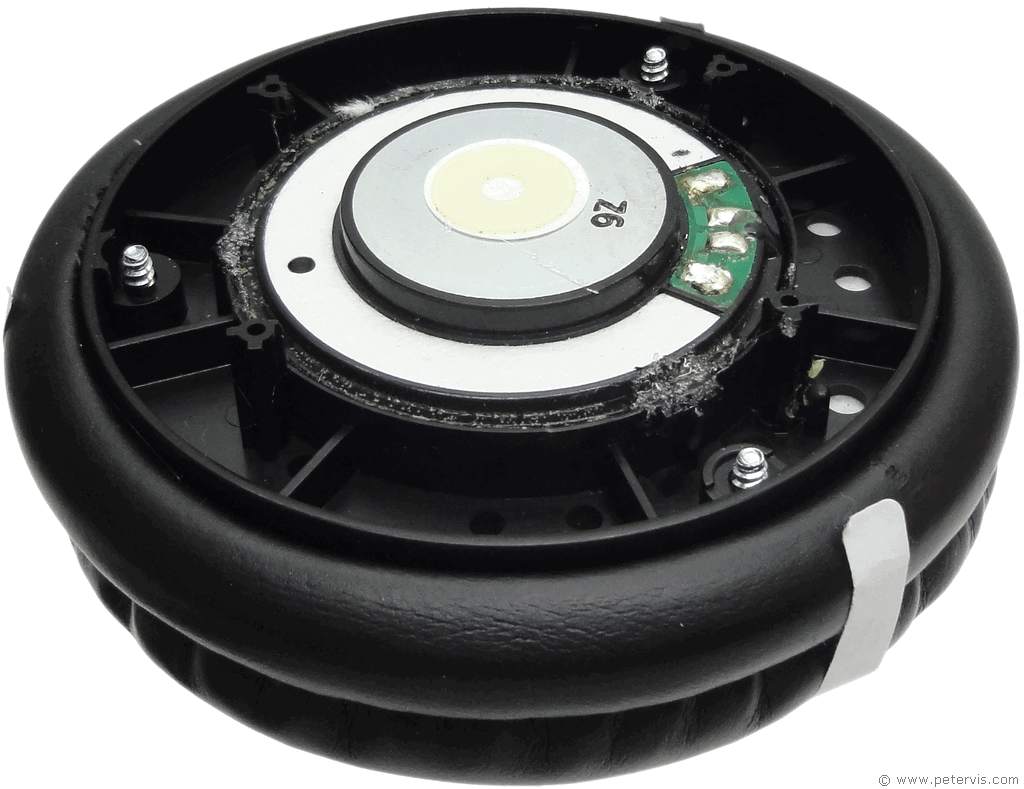
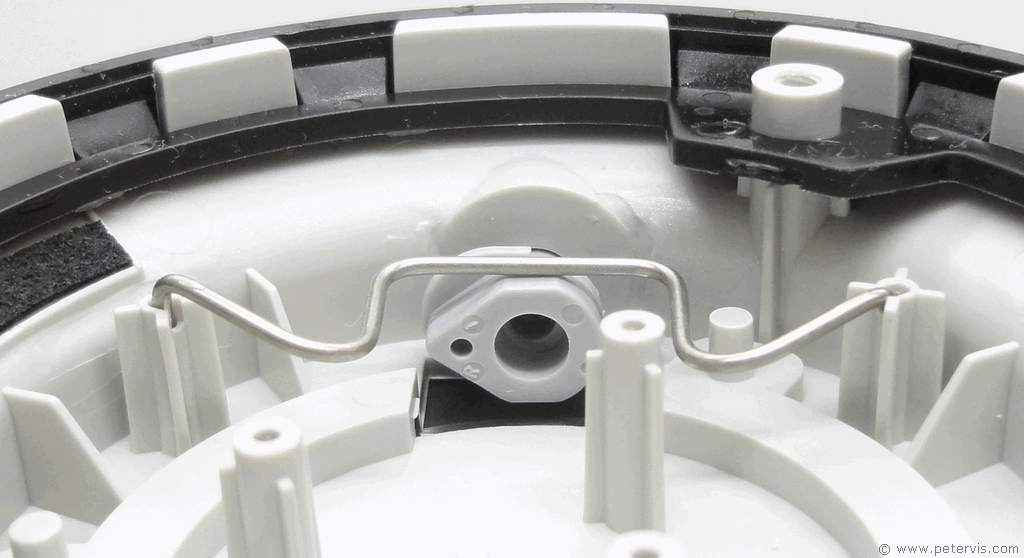
Remember to install the metal spring.
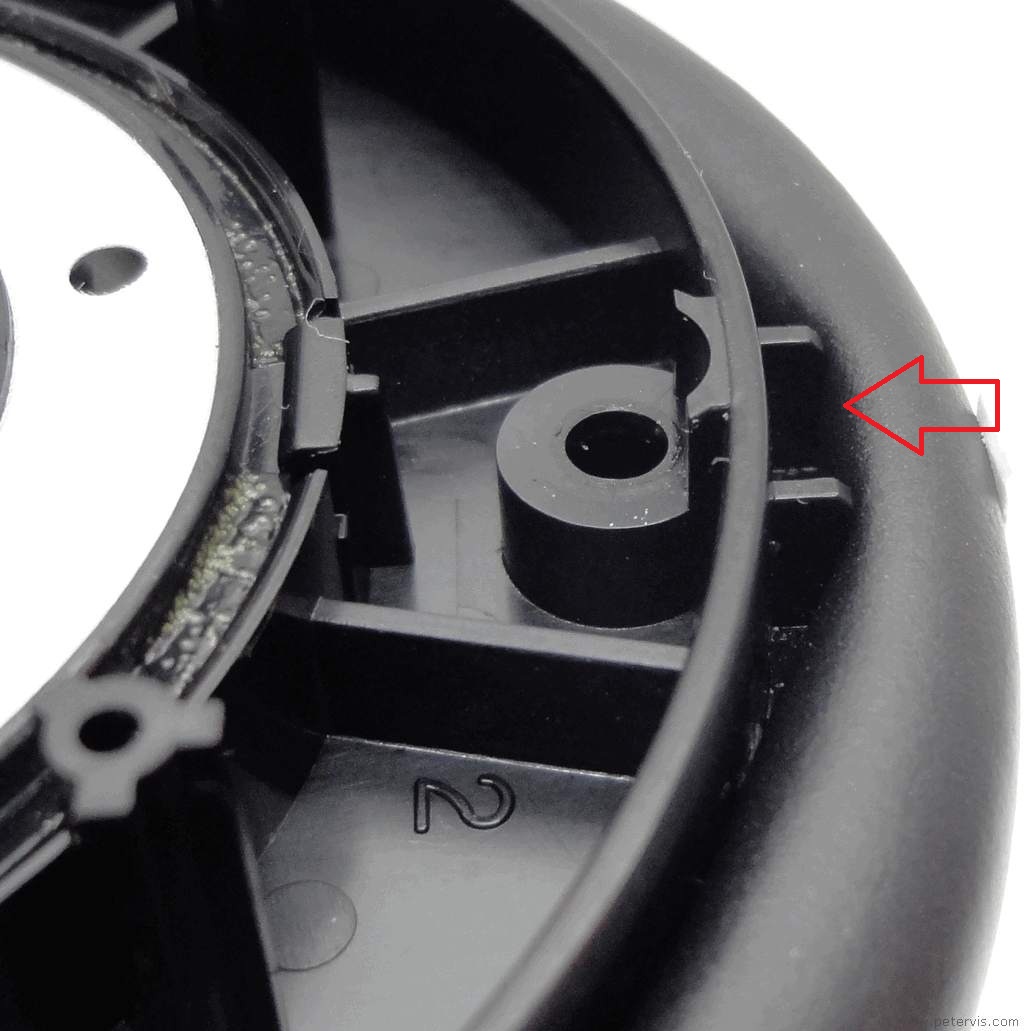
When joining the front panel to the cup, make sure you align the notch with the peg as shown by the red arrows.
This Article Continues...
RP-DH1200Before Repair
Drivers
Cord and Socket Modification
Replacement Pads
Wiring