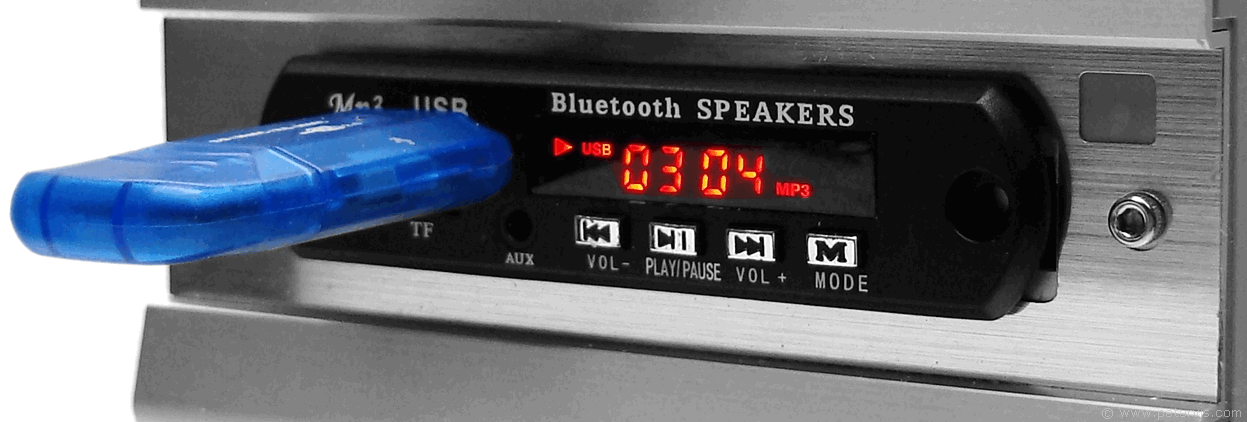
JQ-D015BT -- Installation

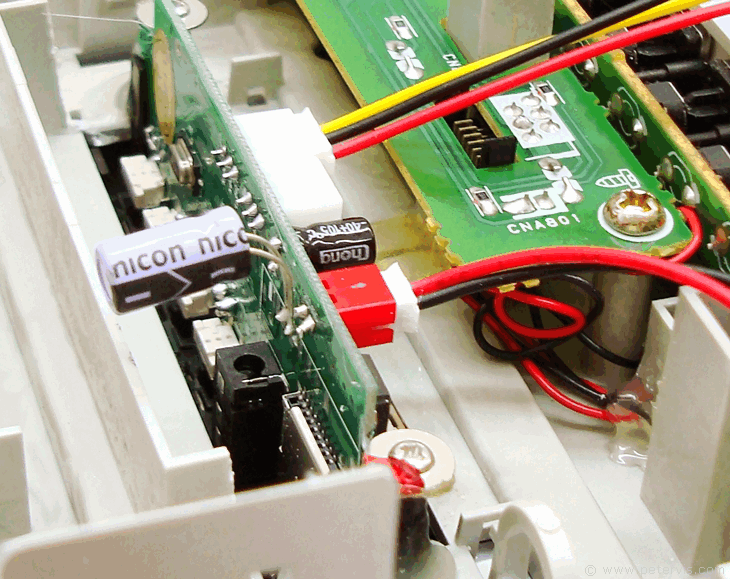
Here is one application of the MP3 player module that I made. The installation was within this micro hi-fi system, which originally had a slot for the cassette player. However, the cassette loading mechanism was beyond repair, so I had no option but to remove it and install this module to keep it going. This particular micro hi-fi system has the Aiwa T-Bass system, which sounds outstanding, and with the MP3 player module, my music sounds excellent.
A nice feature of this MP3 player module is that it remembers the last track where I switched OFF the unit and starts from there when I switch it ON again.
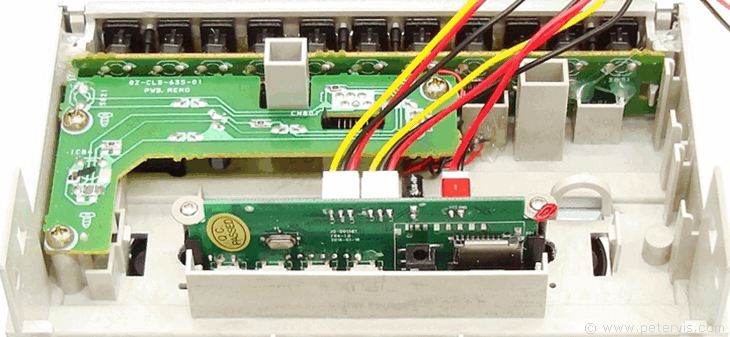
System integration is extremely important and this hi-fi was a very good candidate to install the module into because as well as space for installation, it had a 12 V rail available only when ON. I was able to tap into that supply rail so when I switched ON the hi-fi unit, the module came ON as well. It is also a good idea to add a 100-µF electrolytic capacitor across the supply lines when tapping power from other circuits.
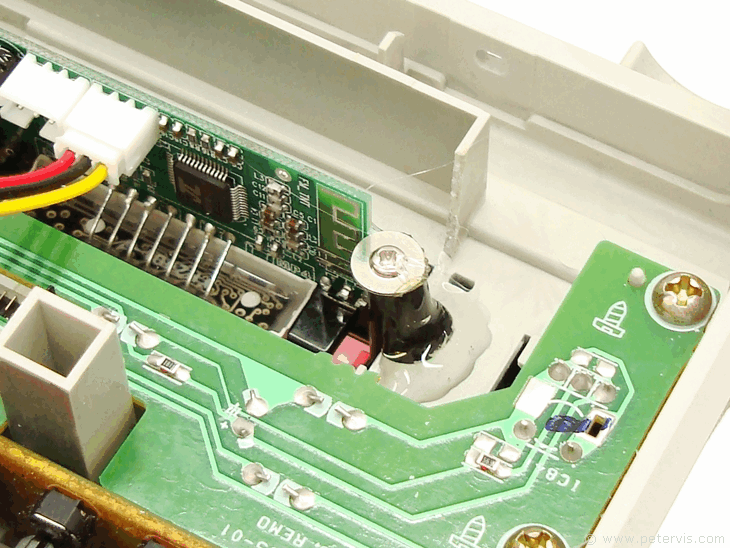
A small blob of hot melt glue from a glue gun is usually sufficient to secure the module in place. It is also semi-permanent and could be removed in the future should it become necessary.
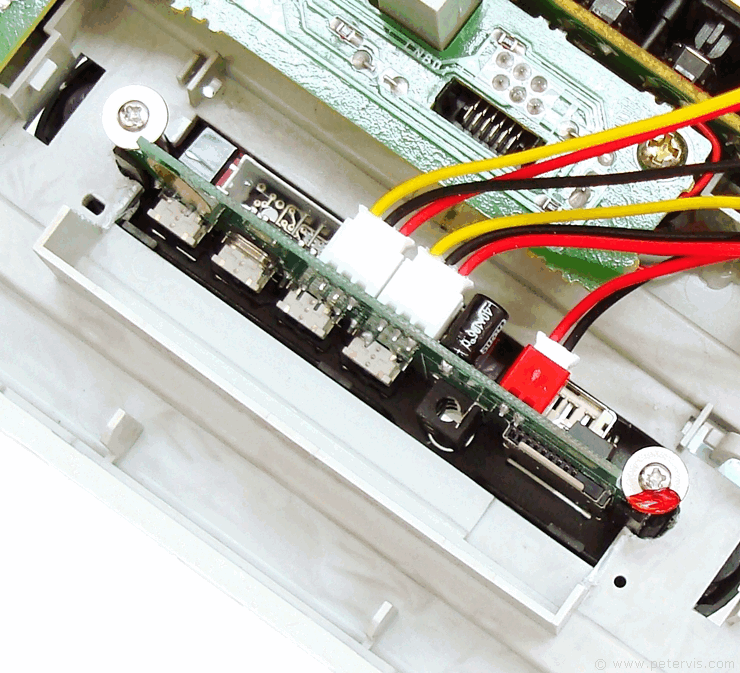
This particular hi-fi allows the selection of auxiliary input by its remote control and therefore that was the best place for inputting audio. I soldered the audio output wires directly to the terminals of the auxiliary input sockets of the hi-fi.
When I powered ON the unit, the display read HI, and when I set it to FM mode, I was able to hear the hiss of the FM band. I pressed play and it began to automatically scan and store the stations, which was impressive.
This Article Continues...
MP3 Player Module with BluetoothPower Supply
Sockets
Audio and Power Connections
How to pair
Installation
Remote Control
