Hepburn Mk2 Opening for Repair
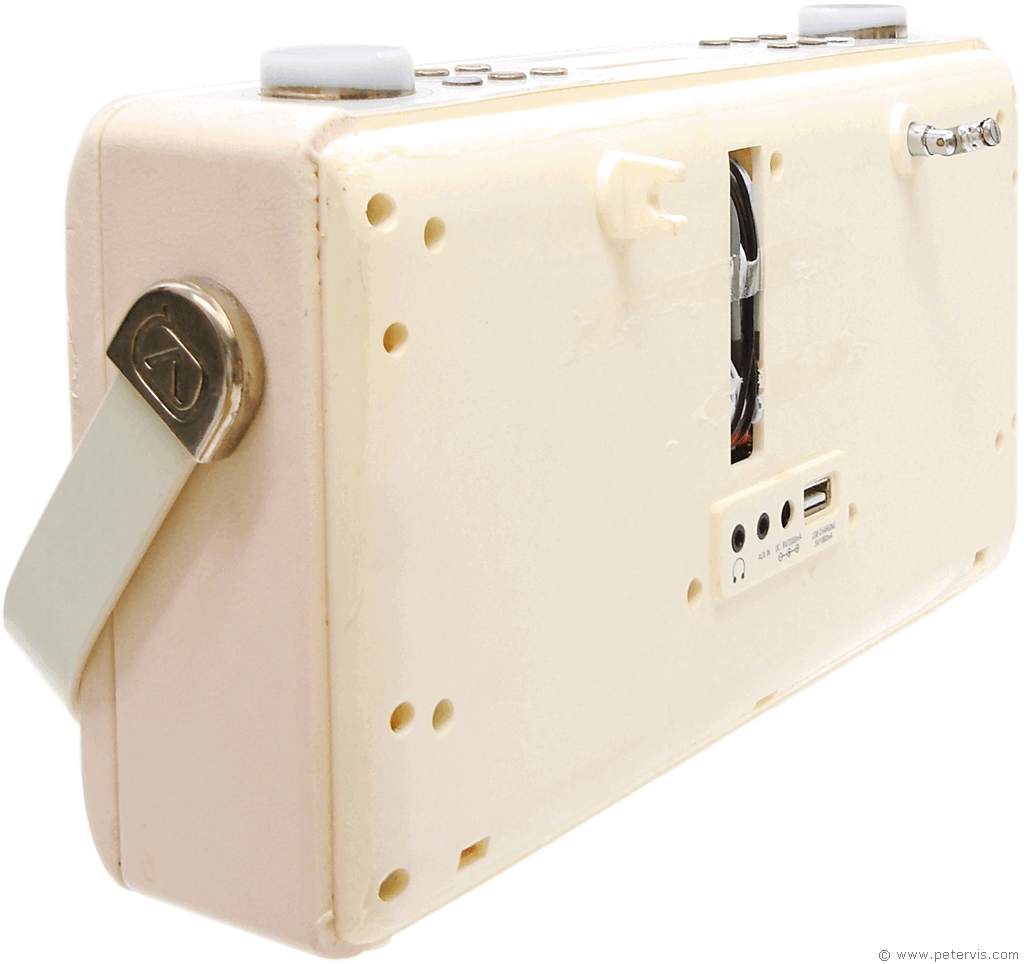
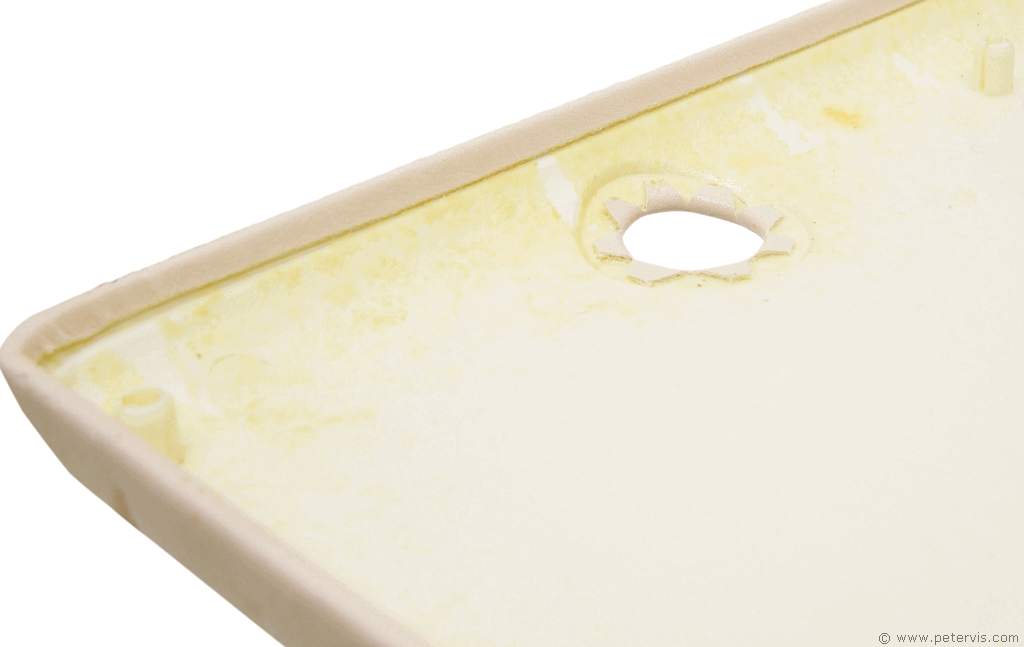
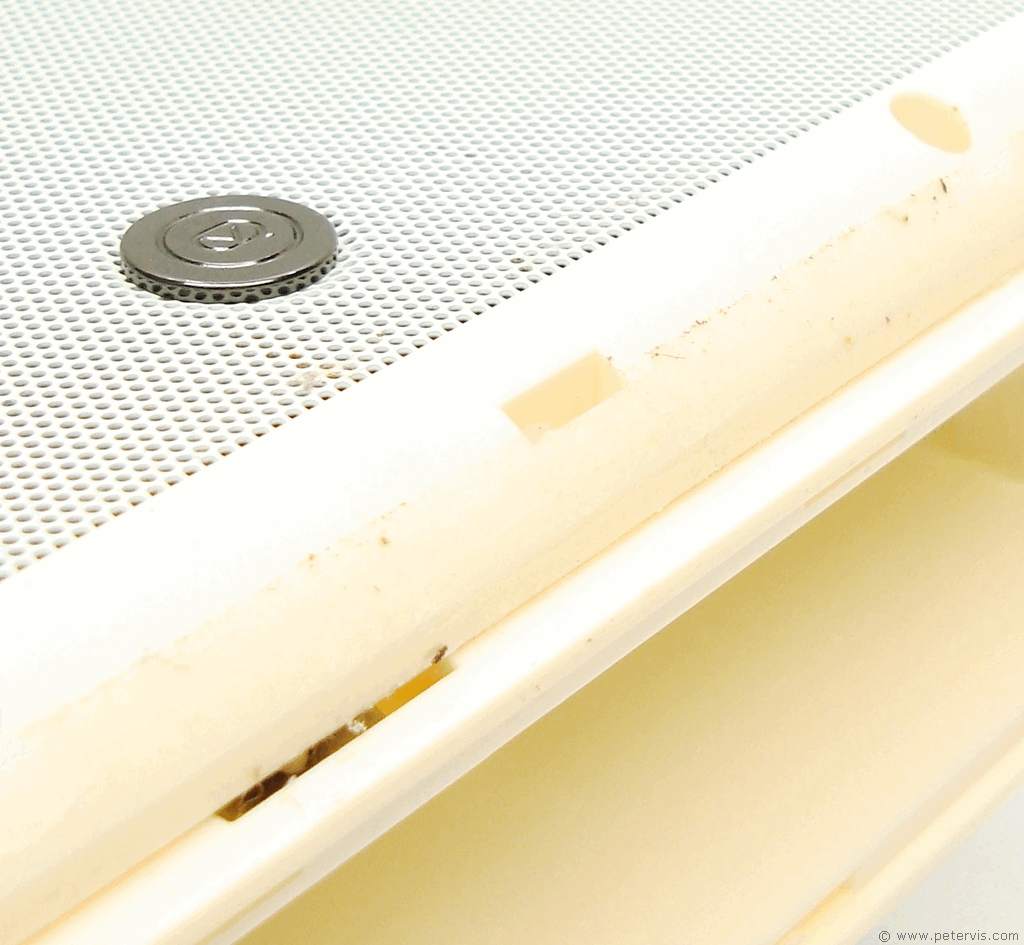
To open the Hepburn MkII, I first had to remove the front and back decorative panels which were stuck with glue. Warming it with a hair dryer usually softens the glue enough to remove the panel. Once these panels are off there are obvious looking screw wells, and I basically undid all the screws I could see. There were screws on both sides of the radio; hence I undid them all before I could gain access to the insides.
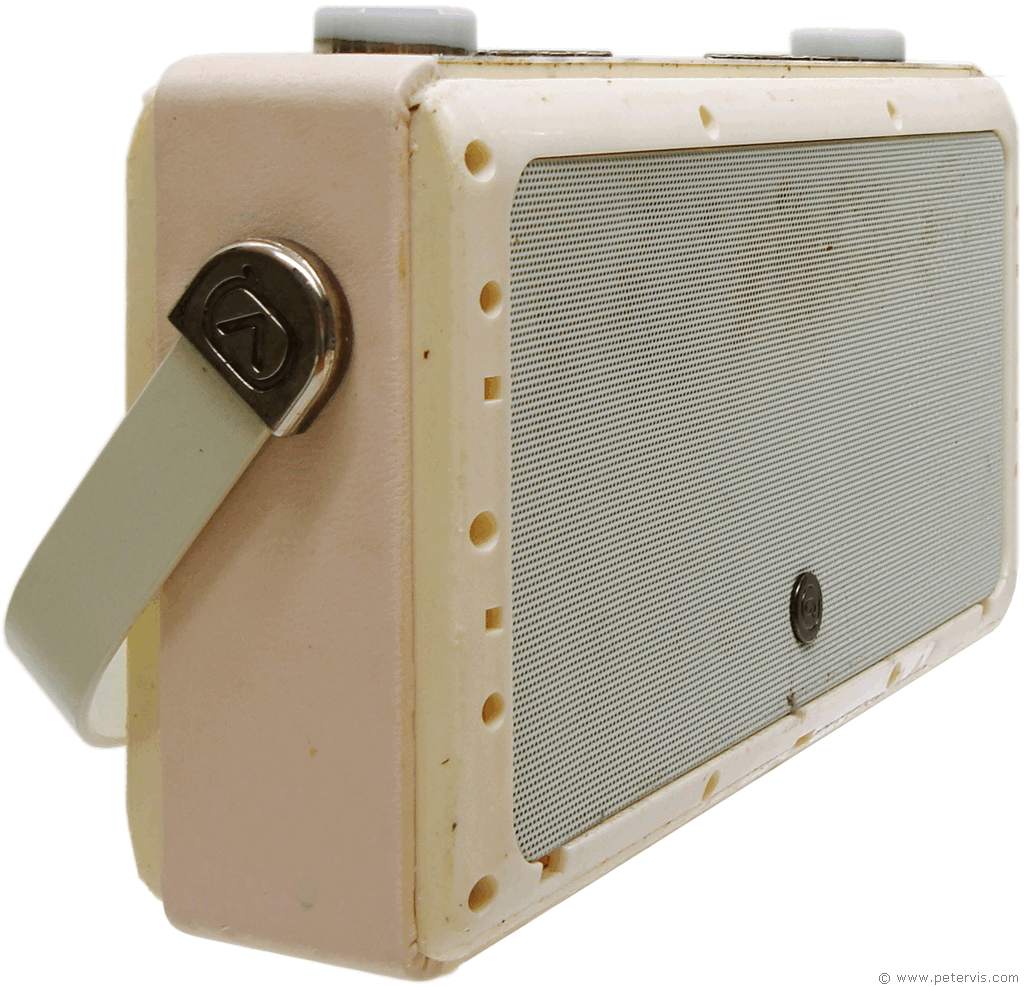
One of the nicer design aspects of this radio is that if after a decade or so you get tired of the look, then someone with arts and crafts skills could easily take the panels off and apply a new fabric with a different pattern. Alternatively, if guarantee was not an issue, then one could customise it with a new fabric to match the sofa and living room decor. To reapply the panels, I simply used a hot-melt glue gun and it was as good as new again.
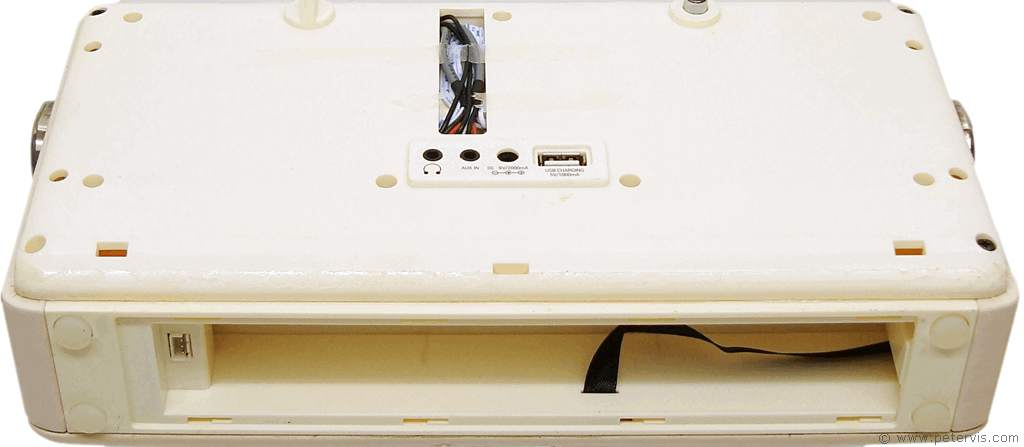
There are screws that secure the front panel; hence I had to remove the front decorative cover as well.
The battery compartment remains attached to the back panel with plastic claws inside these slots. I decided not to undo them and left the compartment attached to the back panel.

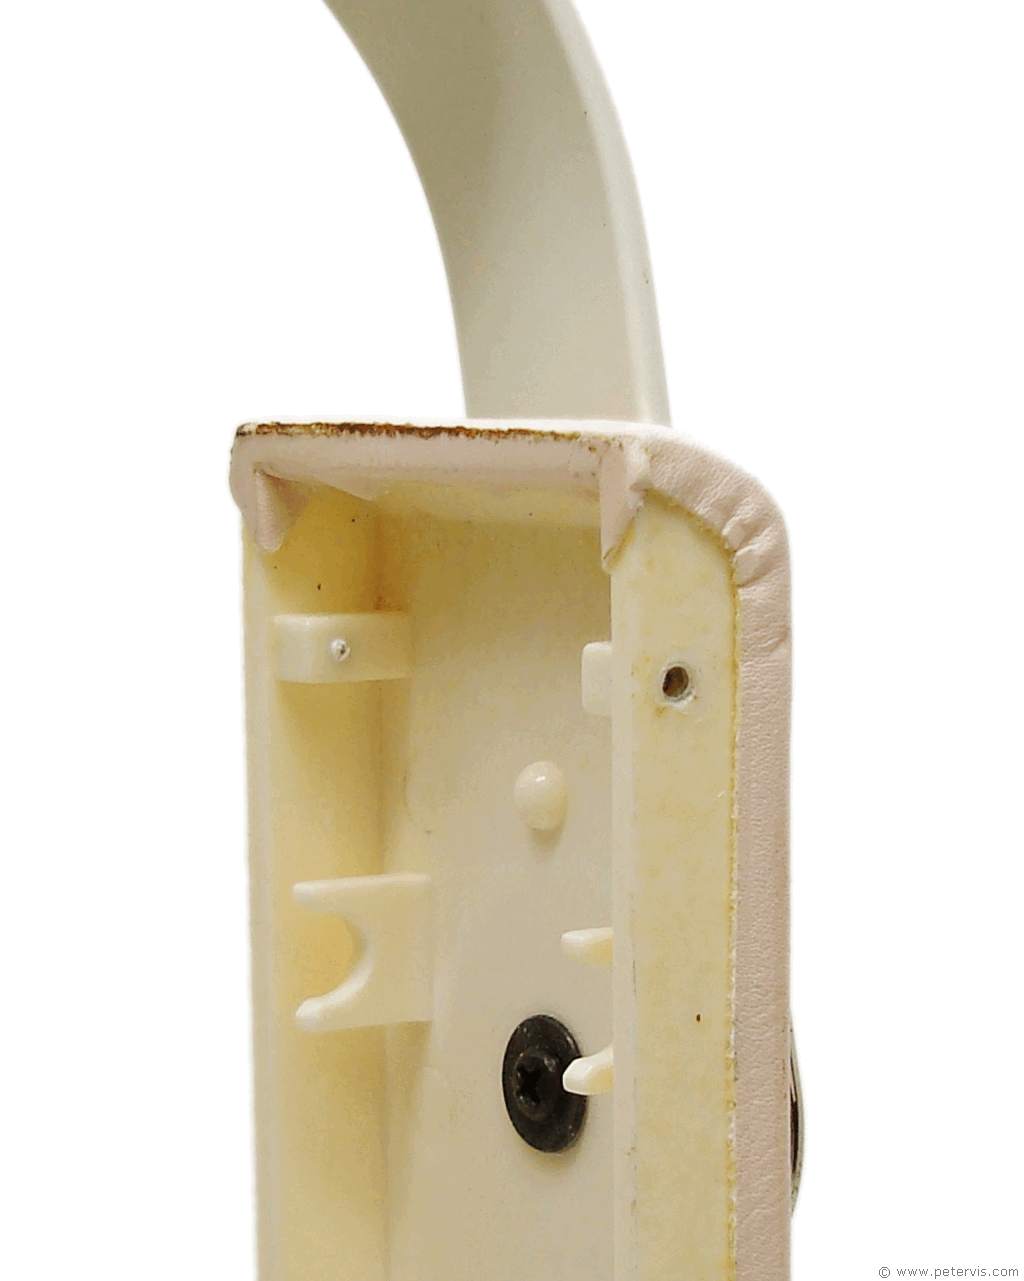
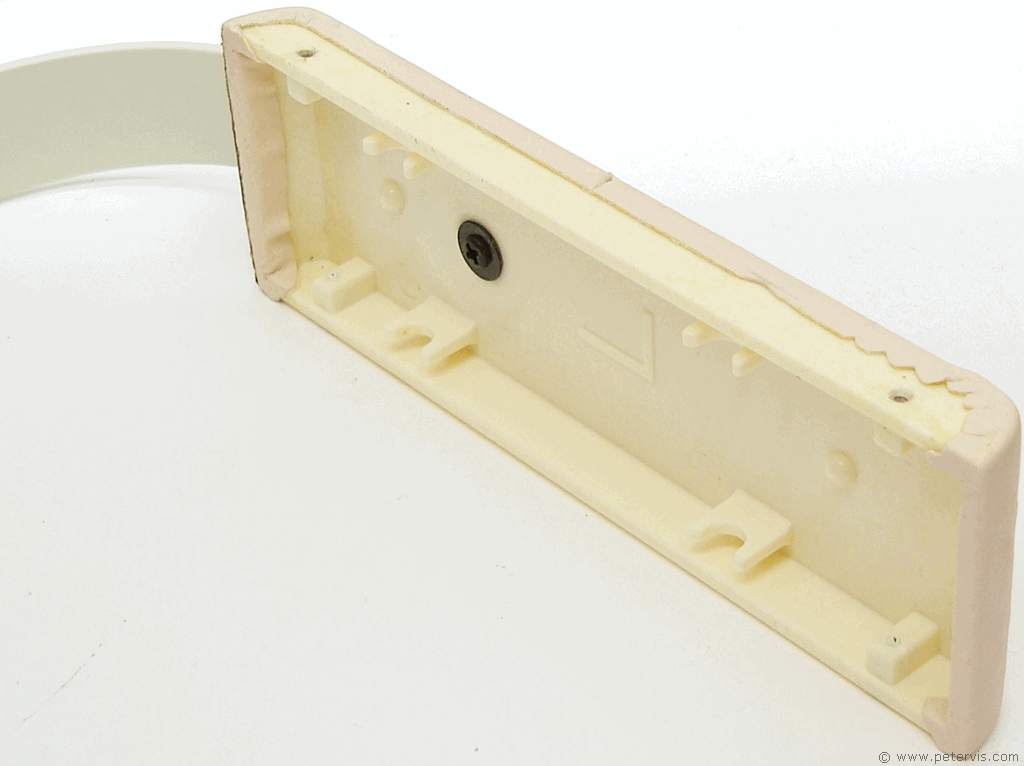
After undoing all the screws that I could see, the side panels with the carry strap came off.
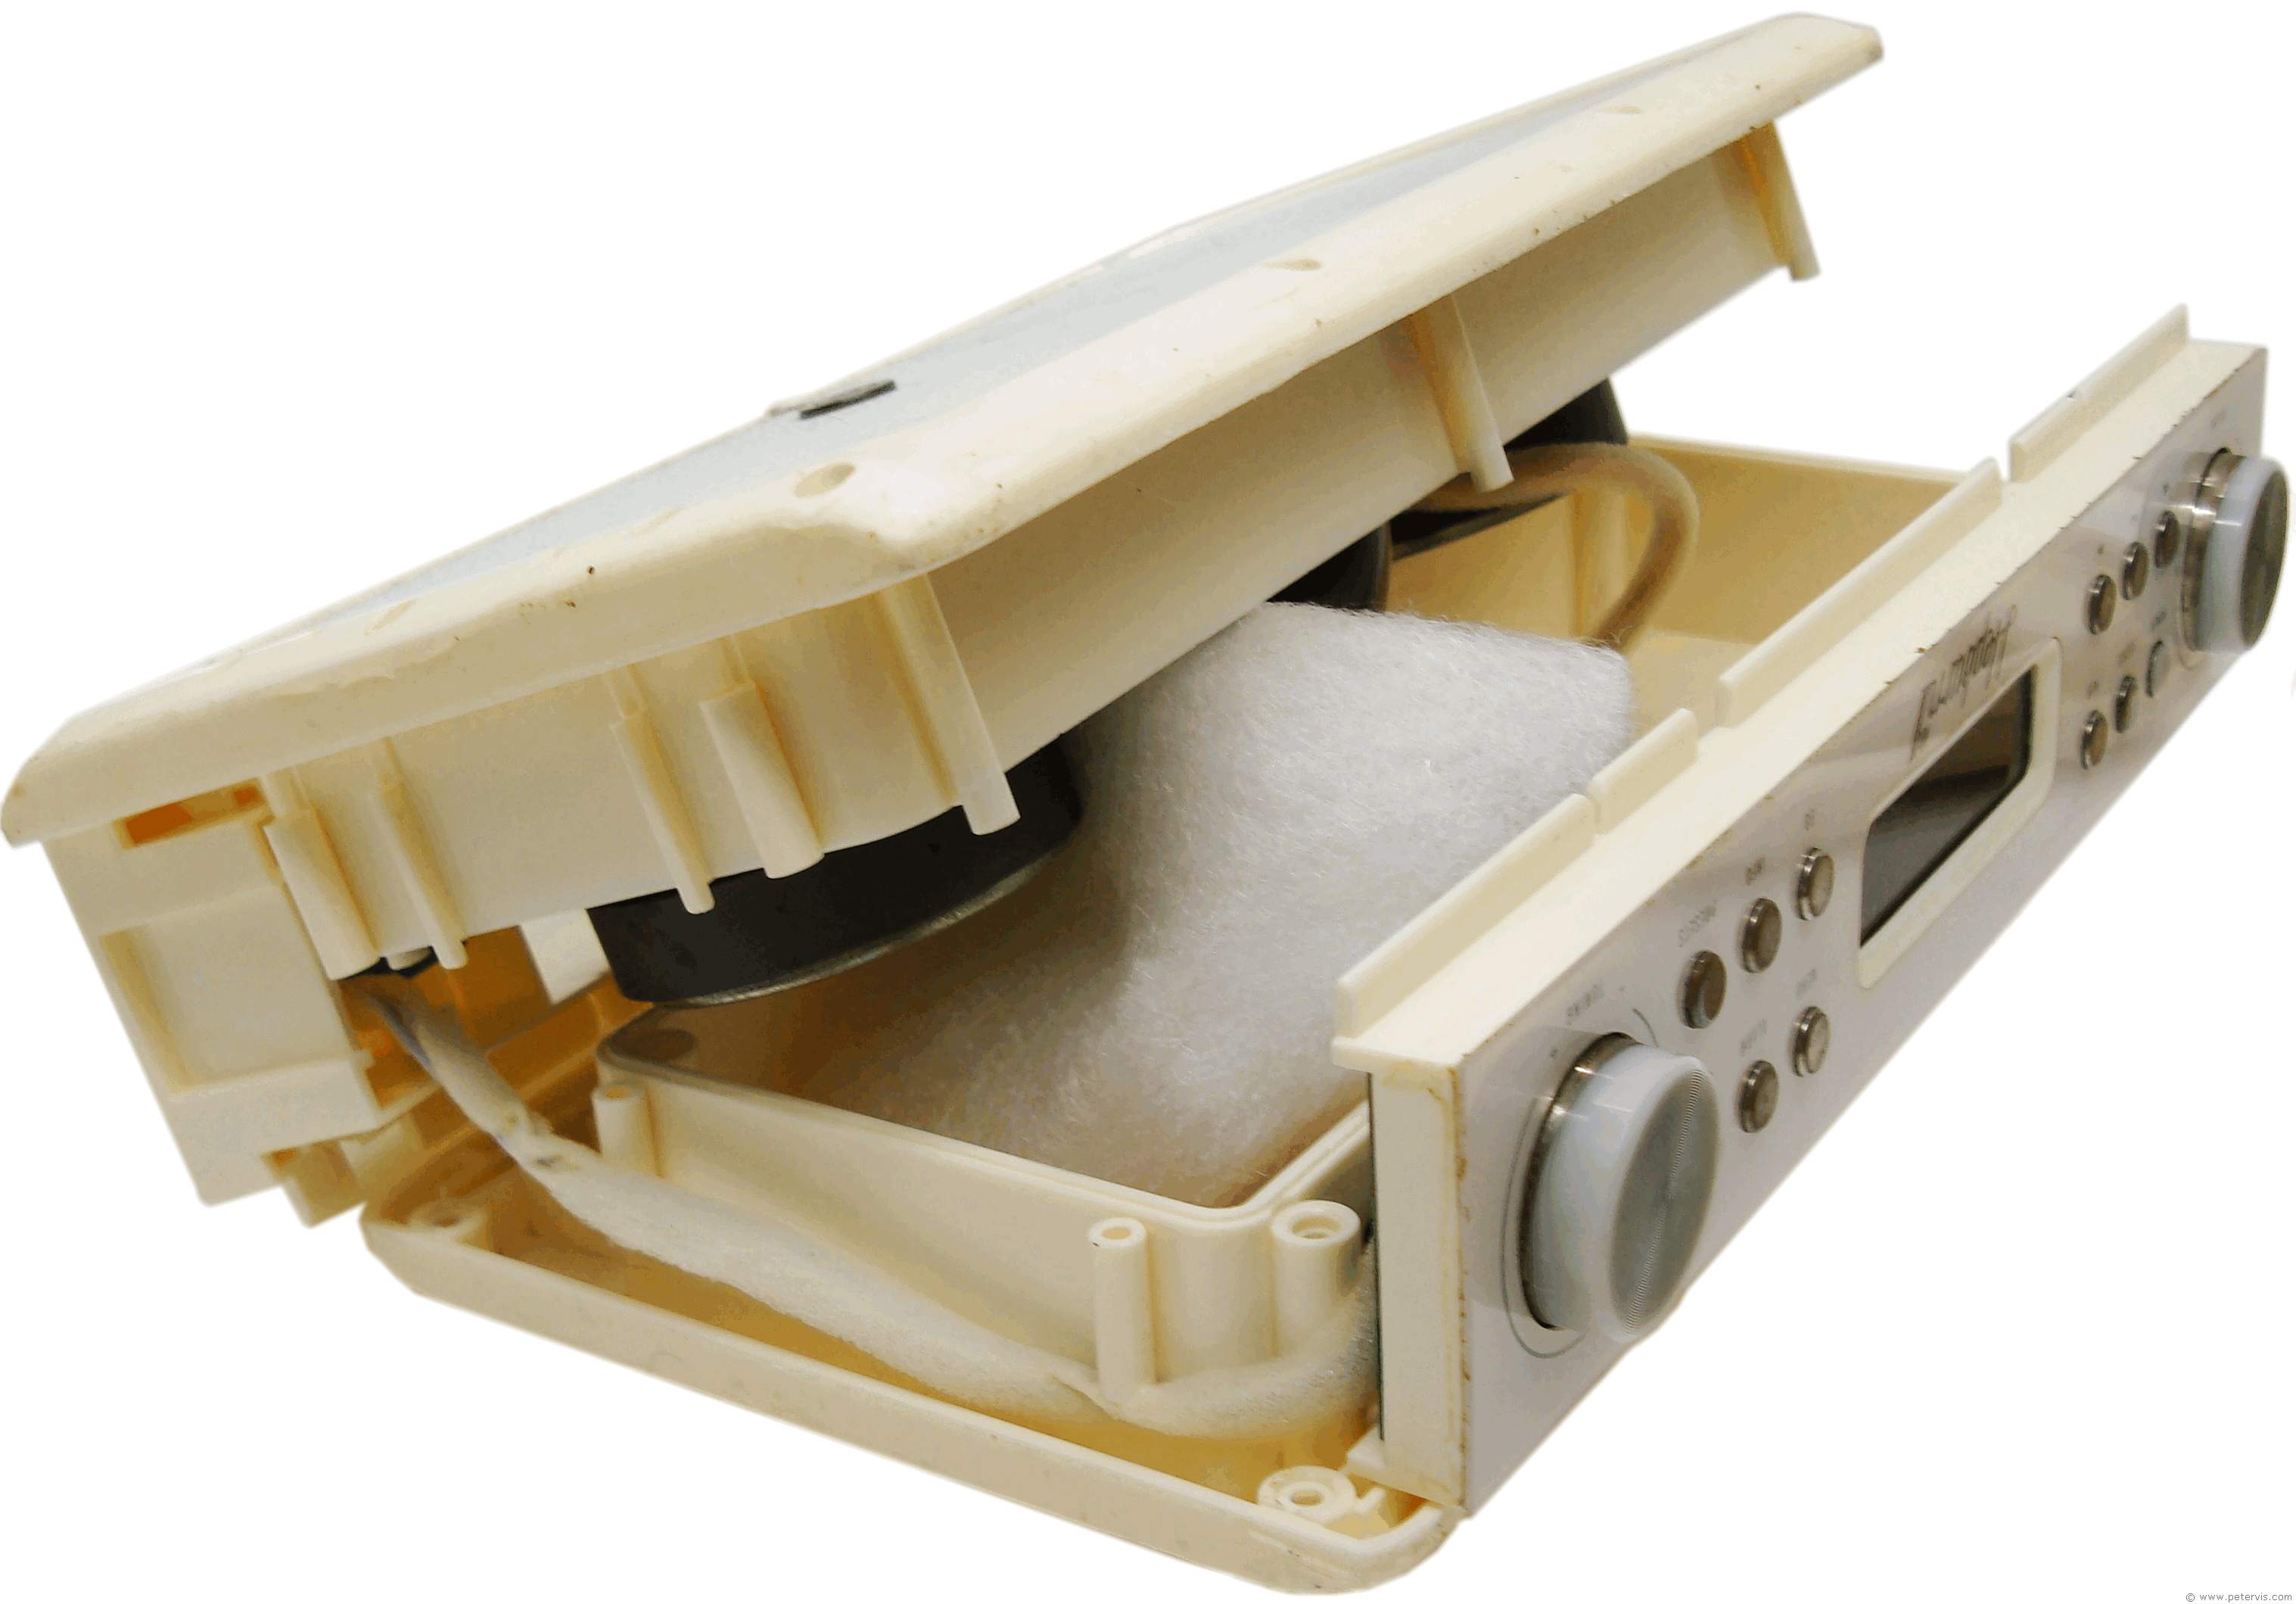
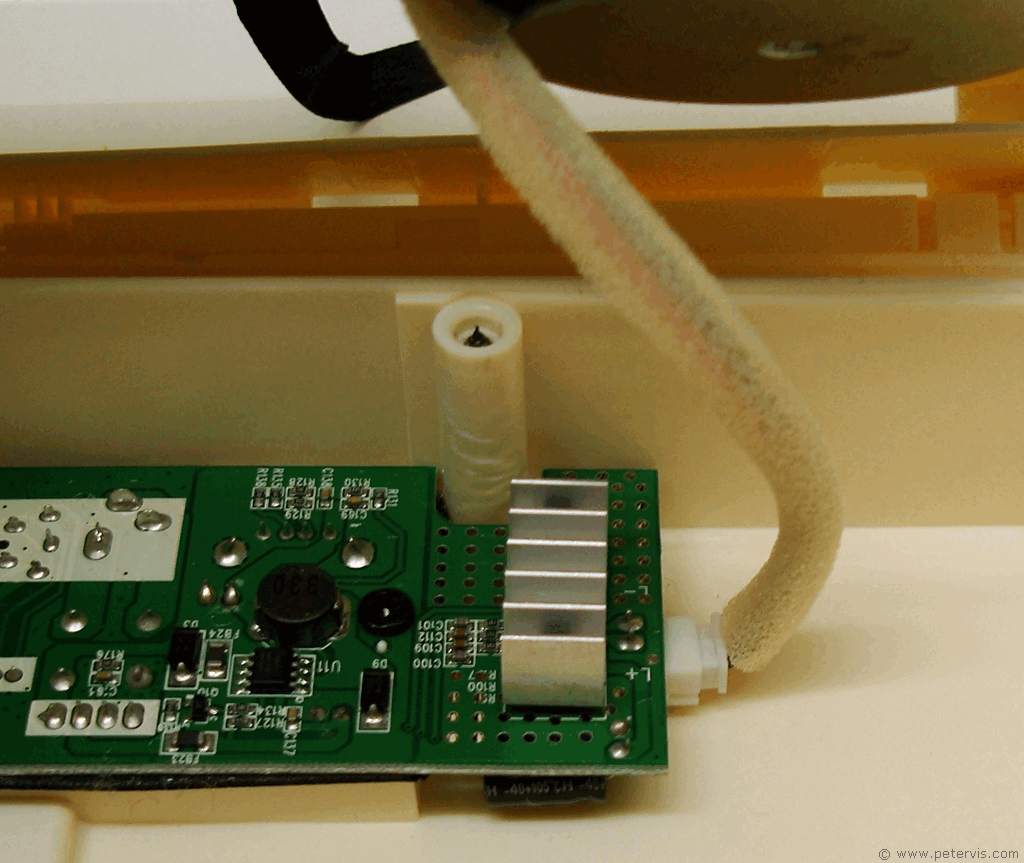
The two halves of the radio cannot be separated due to the speaker wires. Luckily, they were terminated with a socket and I undid them. There is one on each side of the power amplifier board.
This Article Continues...
Hepburn Mk2 DAB RadioOpening for Repair
Inside Look
Power Amplifier
DAB Module
Bluetooth Module
Display
Speaker Enclosure
Speakers