All in One HDD Docking Inside Look
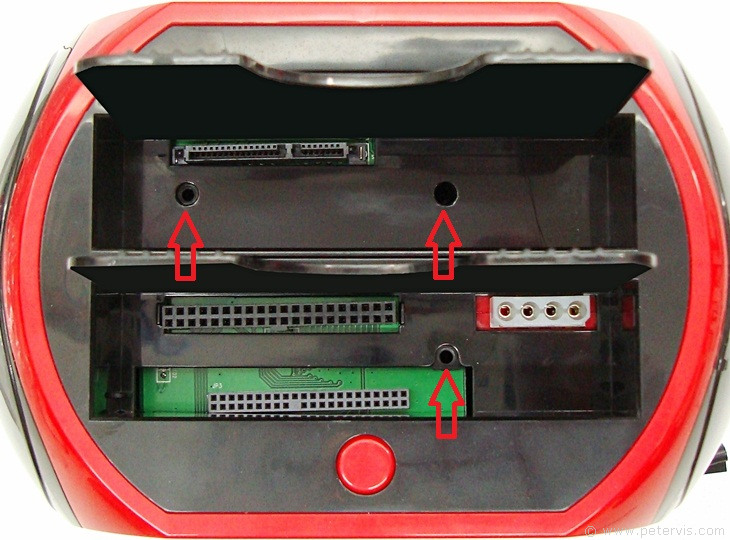
To open the unit, there are usually recessed screws hidden behind the foam pads securing the plastic base plate. There are also screws in the compartments where the hard disks connect, and there is also usually a hidden screw behind a circular sticker. If your unit does not work, then opening it will usually not help because there is only a small board with a few components and no user serviceable parts. If the unit is totally dead and you do not see the LED light, then the first place to check is the adapter. You will need a meter to see if it is supplying the 12 V DC voltage, by measuring it at the barrel plug.
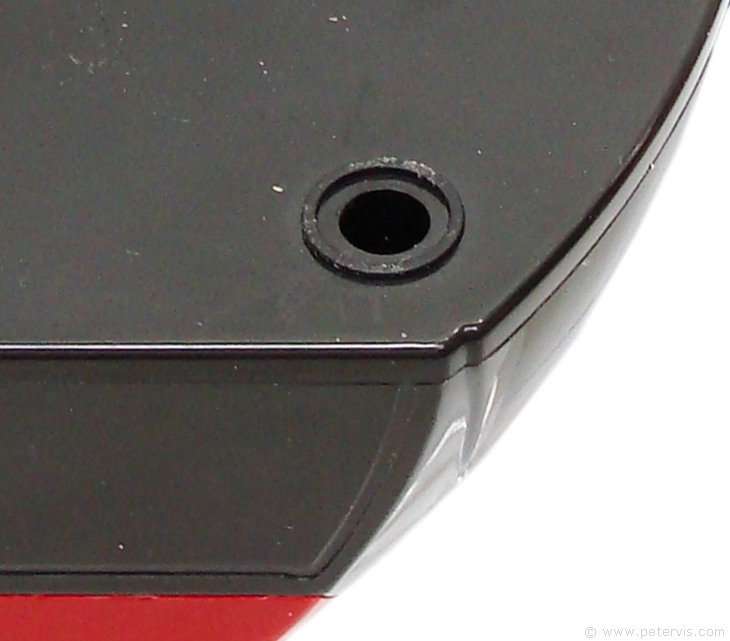
Here is one recessed hole in the base. It is usually covered over by rubber-type feet.
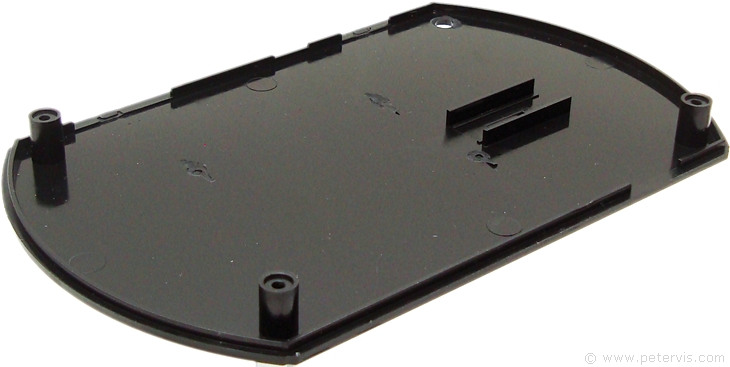
As you can see, the plastic base plate comes off. On mine, one of the screw pillars had broken off due to the courier and minimal packaging.
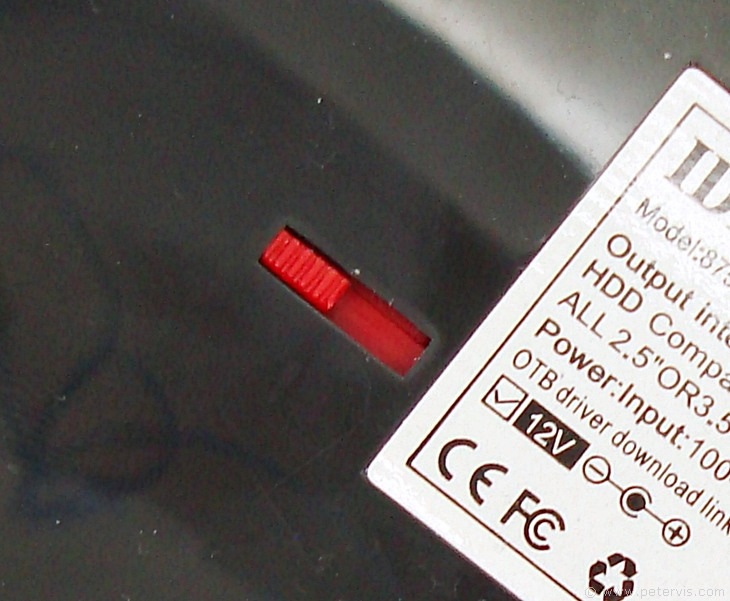
There a slide button at the back that at first sight looks like a switch but is not. It allows one to change the location of the 4-pin power connector that plugs into the IDE hard drive. If your drive does not plug into the unit, then the location of the power connector may require adjustment by way of this slide button.
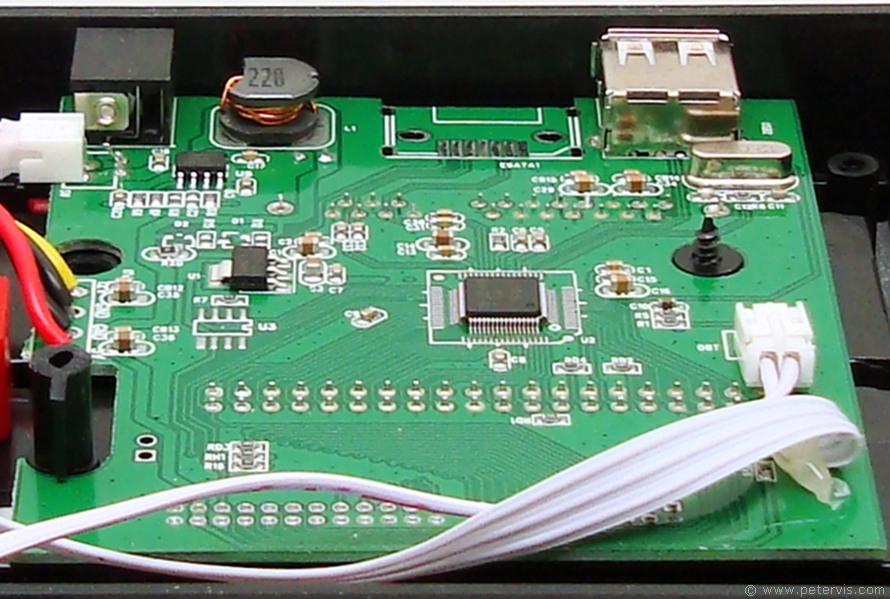
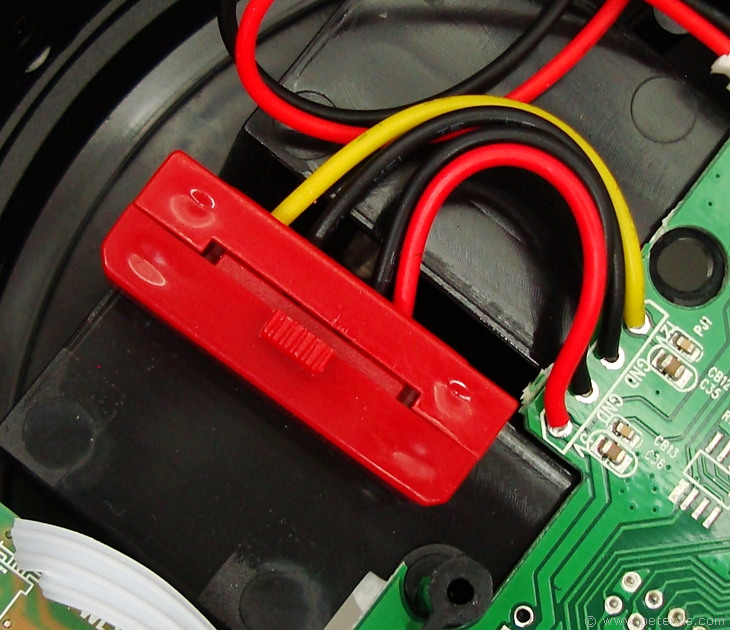
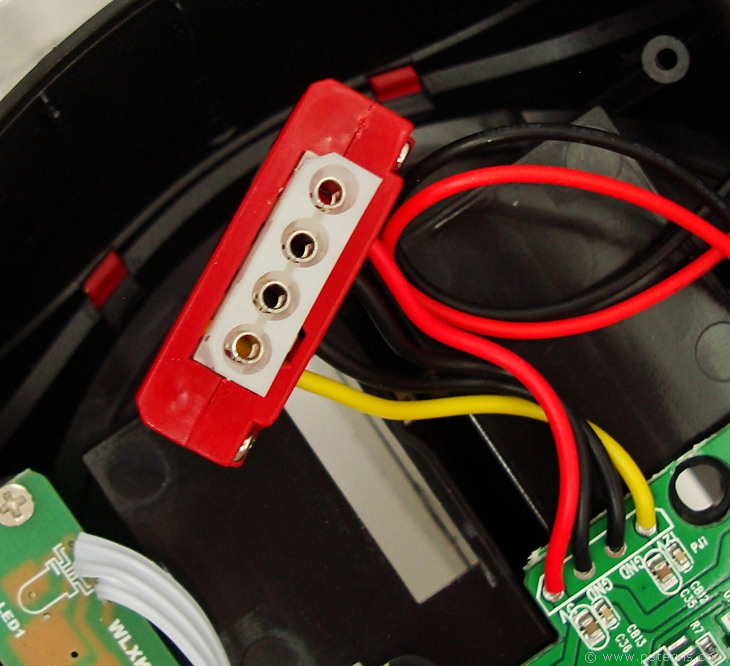
The circuitry has to create the necessary power rails for the hard drives. These are usually +5 V and +12 V for the IDE drives.
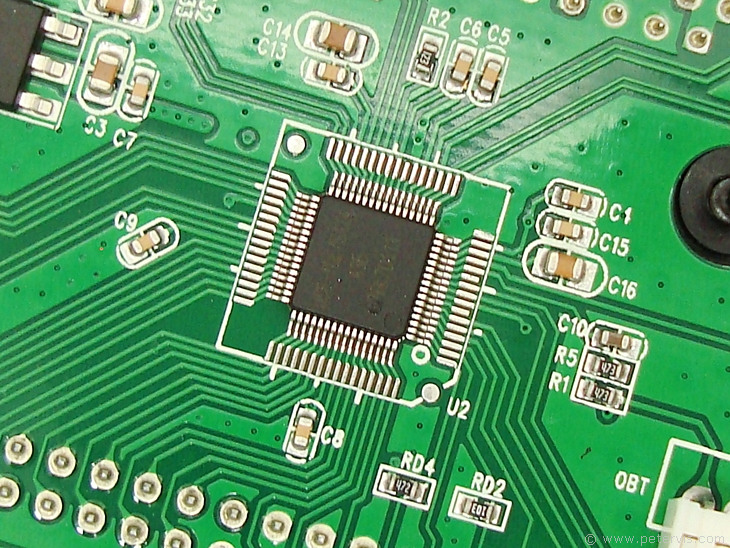
A microcontroller single chip solution usually takes care of interfacing the drive with the USB port.
This Article Continues...
All in One HDD DockingInside Look
All in One HDD Docking Station How to Use Instructions
All in One HDD Docking IDE Not Working
No Drives Showing
IDE / SATA Docking Box and Packaging
IDE / SATA Docking Station Adapter Power Supply
