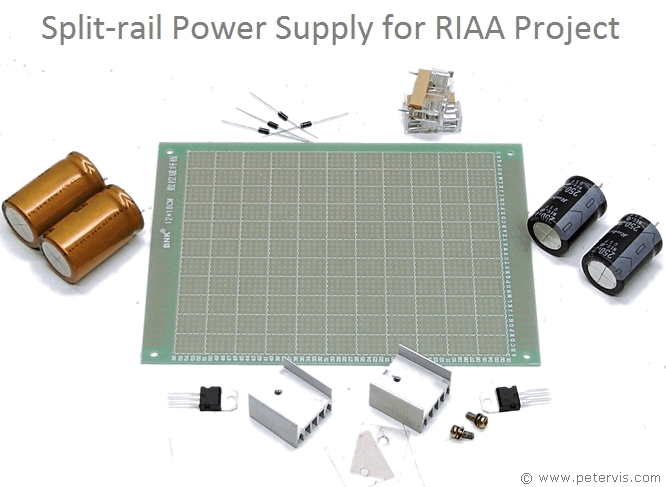
Split Rail Power Supply Components
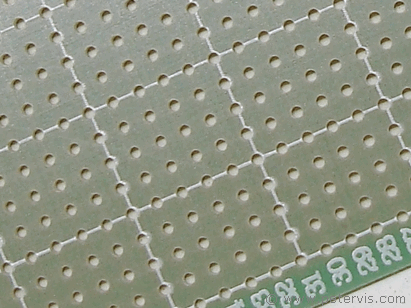
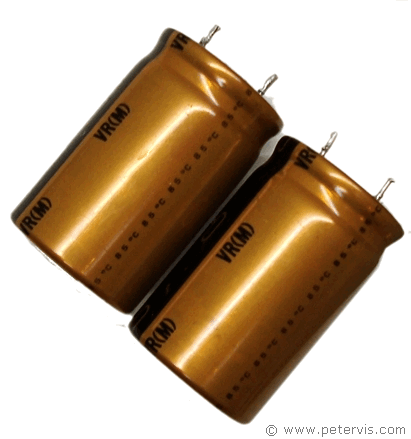
For the power supply build, I am using this matrix board, which has copper eyelets and no strips. With this type of build, you can place the components at their most advantageous locations and simply wire them from the underside. We can place the voltage regulators far away from each other, and we can place the capacitors far away from the heatsinks. Although students usually make a crow’s nest with these types of boards, it is possible to minimize the loose wires and place links which are much smarter. I got this board a few years back when it was going cheap for 99p and figured I could do something with it one day. The capacitors are recycled, and so are the heatsinks and mica insulators. I had to buy the ±12 V regulators, and the fuse holders.
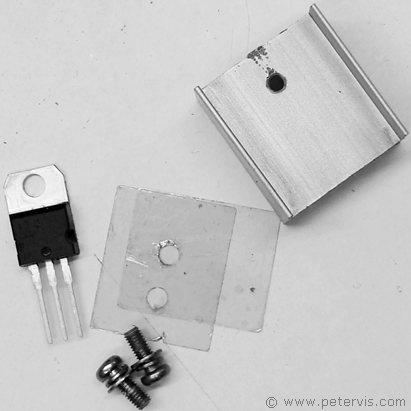
The mica layer, which goes between the voltage regulator and heatsink was also from a recycled source. All of these little things usually add to the final cost if one had to buy new, therefore it really pays to recycle.
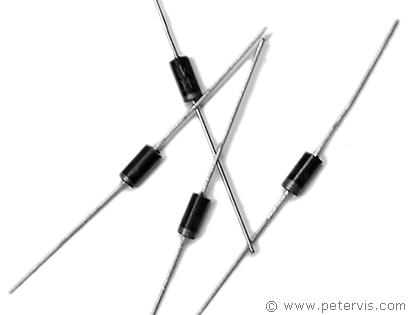
I was just about to solder those diodes to make a bridge rectifier when I remembered I had a bag full of bridge rectifiers salvaged over the years.
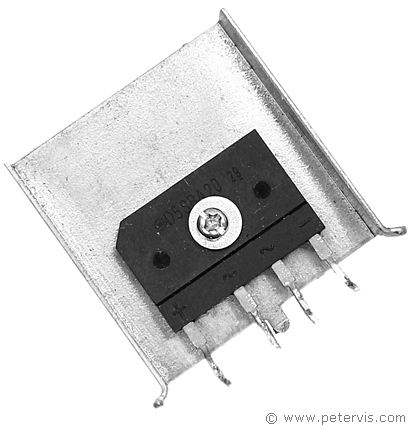
This particular bridge rectifier (D5SBA20) is extremely good quality that came out of a Sony television. This is one of those times when recycling really pays. You can have very good quality components that would otherwise cost a fortune to buy new.
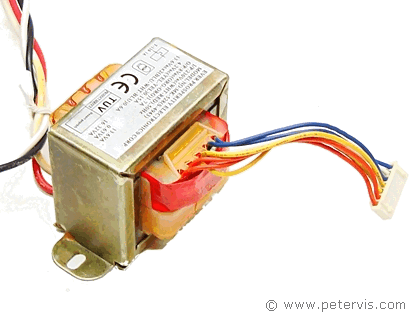
A transformer is usually one of the most expensive components in any build, and here I am using a recycled one that came out of a DVD player. This one has a sealed primary side with wires attached to a figure 8 mains socket, which is very advantageous. This one has 13.6 V – 0 V – 13.6 V AC windings, which once rectified and regulated, provides ±12 V DC.
This Article Continues...
Split Rail Power Supply for RIAA PreampSplit Rail Power Supply Components
Split Rail Power Supply DIY Build
