Voltmeter Kit

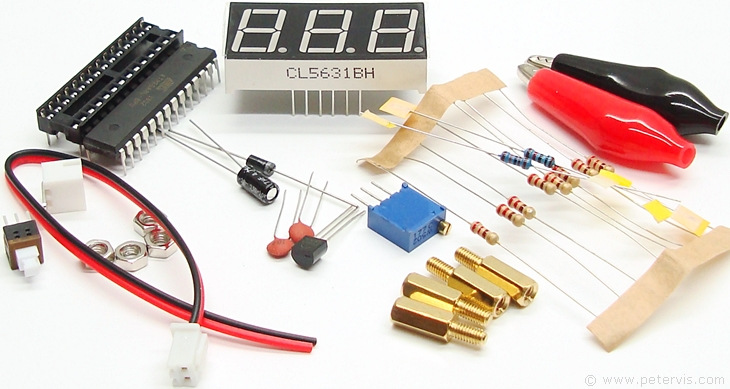
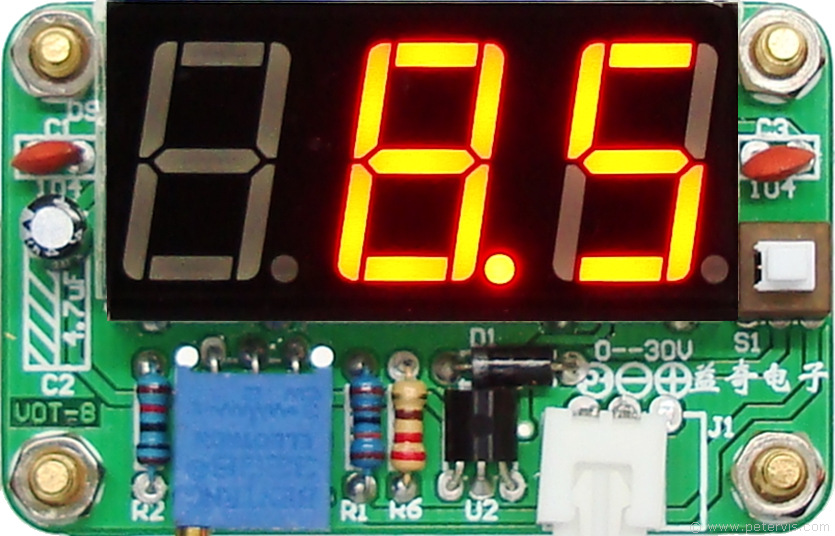
This digital voltmeter DIY kit (also known as VOT-8) uses the Atmel ATMEGA8L 8PU microcontroller and has 0.56-inch 3-digit 7-segment LED display, and on-board voltage regulator 7133A (U2). The kit of parts comes with a printed circuit board (PCB), ready-programmed Atmel microcontroller, and necessary components to make a working digital meter that measures voltage straight away without any additional hardware. This module can operate independently, without a dedicated power supply, by drawing power directly from the voltage being measured. In this mode of operation, the voltage range it can measure is 3.5 V to 25 V. However, if a dedicated power supply is used, then its measuring range is 0 V to 30 V, and the accuracy 0.1 V.
Review
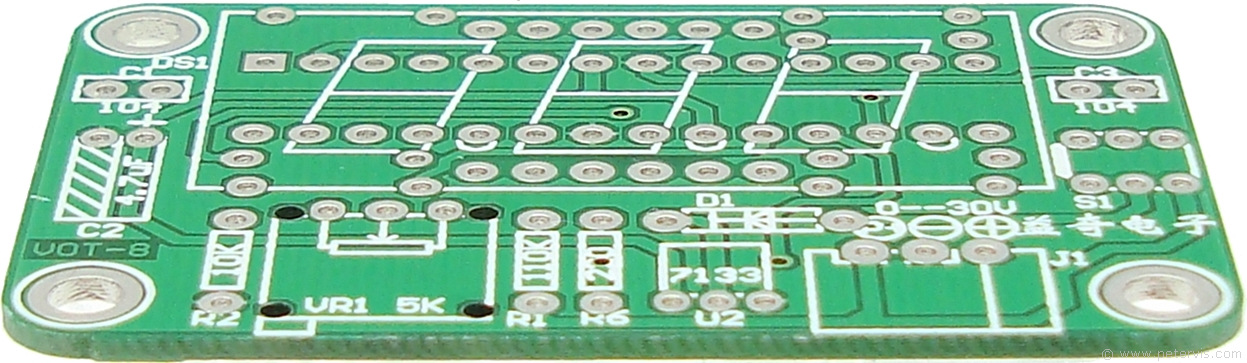
Building the kit is simple and almost any hobbyist should be able to construct it as it does not require any specialized tools. The quality of the double-sided PCB was good and the exposed pads tinned making soldering a pleasure. The circuit design is also a good one, and they supply good quality components that work well. There is no documentation showing how to connect the probes for two-wire operation, or three wire operation. However, this article shows how to connect the probe socket so that the meter draws its power directly from the voltage that one is measuring. The user should remember that in this mode of operation, the minimum voltage it can measure is around 3.5 V. If you need to measure voltages lower than that, then you will need to connect a dedicated power supply. The design has an on-board voltage regulator (7133A), which is a 3.3 V fixed regulator that has an absolute maximum input voltage rating of 24 V, and a 2-way selector switch S1 that determines where the system draws its power to operate. You can find more information about this in the following pages of this multi-page article.

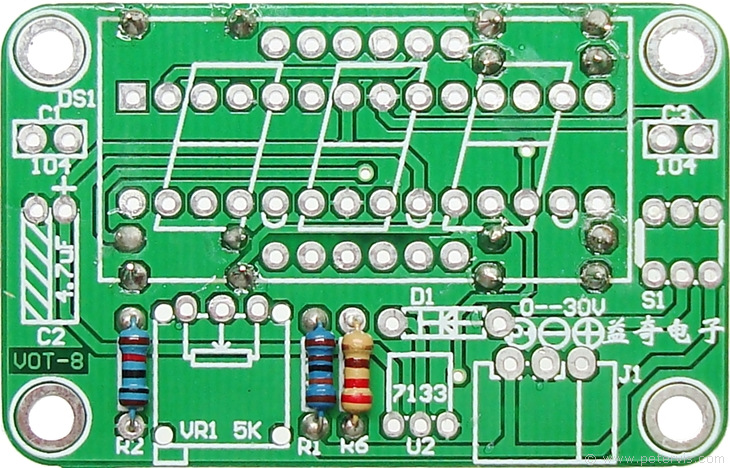
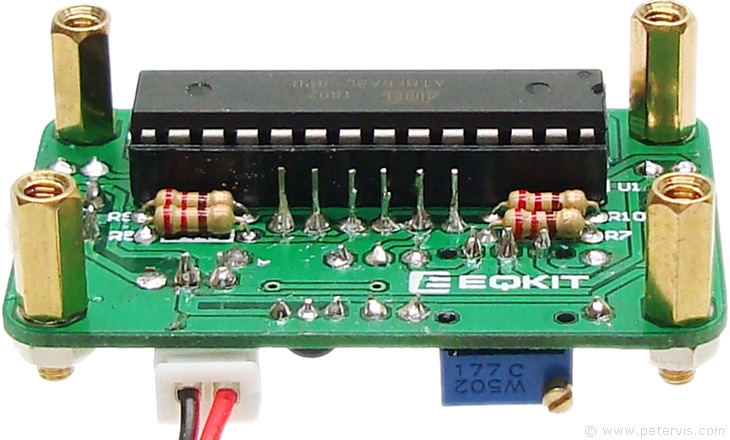
Start by installing the 220 Ω resistors, seven on one side, and one on the other side. Then install the other blue coloured resistors (10 kΩ and 110 kΩ), which are usually the high precision ones.
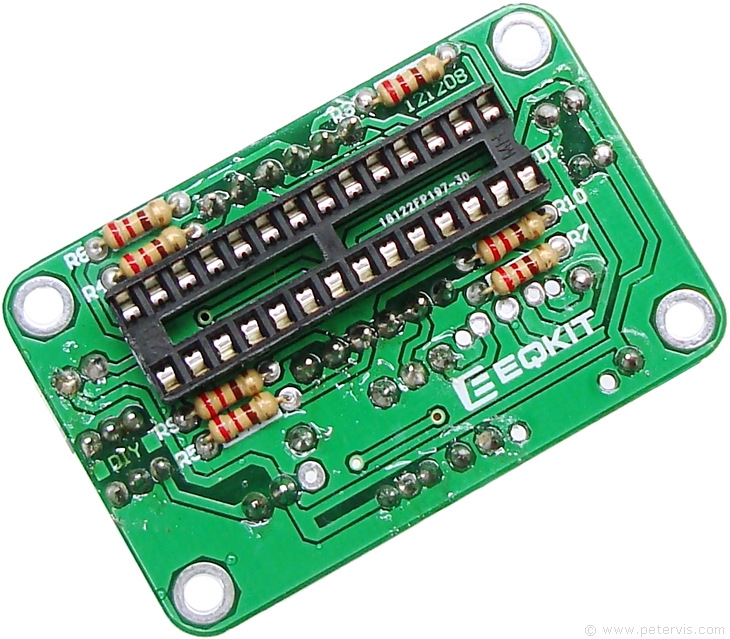
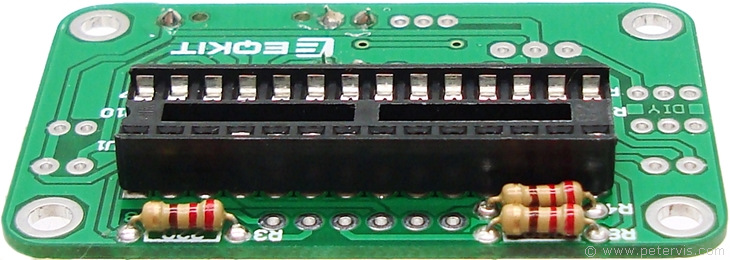
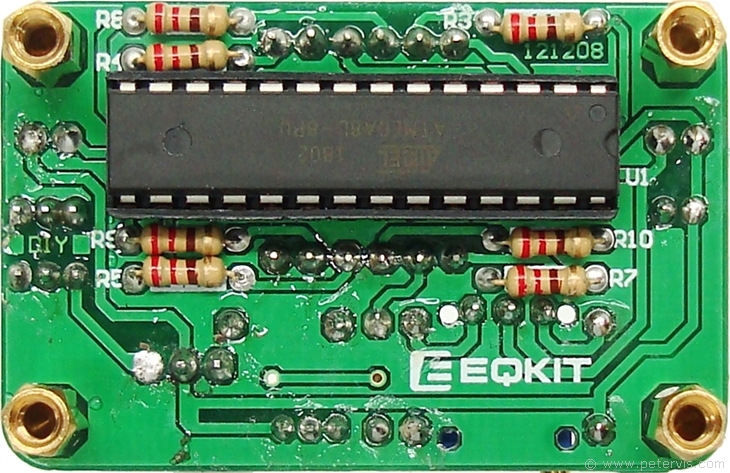
Install the chip socket, the right way round, however do not install the IC until the last stage of completion.
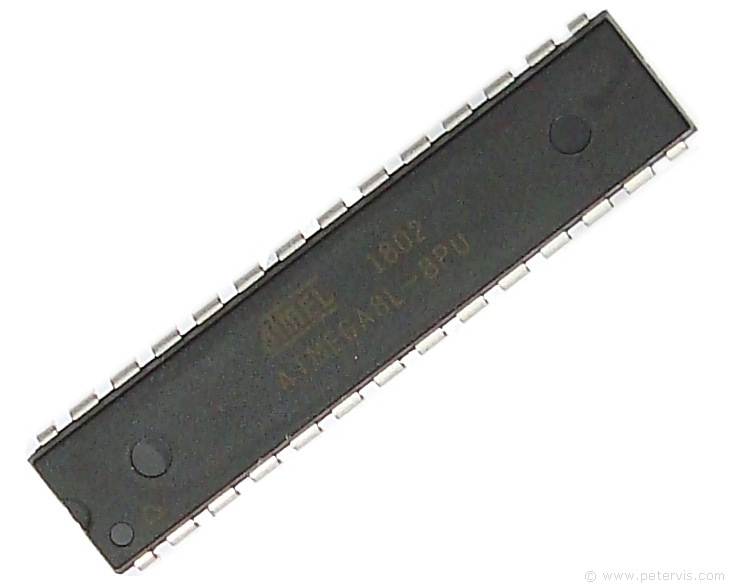
The ATmega 8L is a low-power CMOS 8-bit microcontroller based on the AVR RISC architecture. When you handle this IC, you should practice electro-static discharge (ESD) precautions, as this is a very sensitive and delicate microcontroller IC.
Price/eBay

These are usually for sale at auction sites for a couple of pounds, and it comes all the way from China. The price usually covers the postage, and the delivery was expeditious.
This Article Continues...
Voltmeter KitProbes
Power Supply
Kit of Parts