Raspberry Pi Power Circuit Results
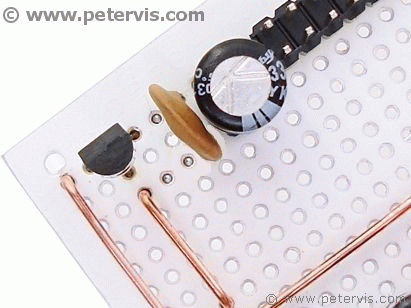
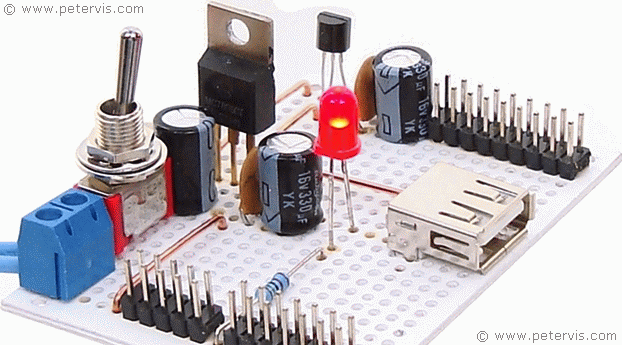
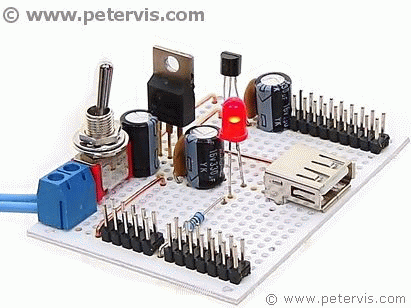
Here is the completed Raspberry Pi power supply project. The photographs in the following sections of this page will help with the build. Notice how the voltage regulator connects, and how the flat side is facing outward. Although the pins fit in a single row, the middle one can bend out, to make soldering a little easier. The ceramic disc capacitor and the electrolytic capacitors are recycled. For the links, I am using thick copper wire to ensure that there is no voltage drop anywhere.
Switch
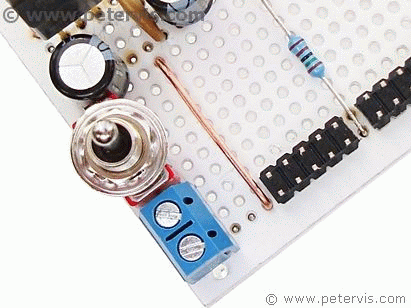
I was impressed with the way the red switch and the blue screw terminal mounted on the circuit board. It looks much better than I had hoped.
Testing the Circuit
Before using the circuit, it is prudent to check the voltage output using a digital meter. Do not connect it to anything until you have measured the voltages at the inputs and outputs. I was impressed with the way the red switch and the blue screw terminal mounted on the circuit board. It looks much better than I had hoped.
Testing 5.0 V Output
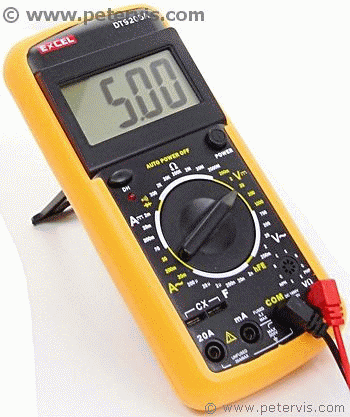
The 5 V rail was precisely as expected. Electronics is a precise science, which follows the laws of physics, and the circuit cannot do anything otherwise.
Testing 3.3 V Output
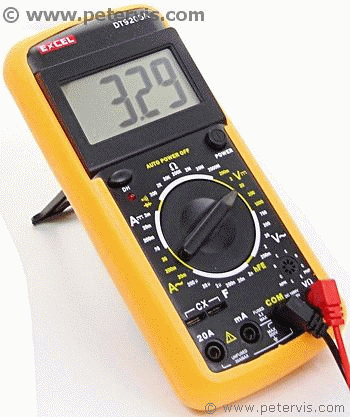
I measured 3.29 V from the regulator, which was precisely as expected.
This Article Continues...
Raspberry Pi Power Supply CircuitRaspberry Pi 3.3 V Power Supply
5 V Power Supply Kit with 3.3 V
Raspberry Pi Power Supply Switch
Raspberry Pi Power Circuit Build
Raspberry Pi Power Circuit Results
Reference
5 V Voltage Regulator3.3 V Voltage Regulators
IRFZ44N