Computer Logic Lab Repair
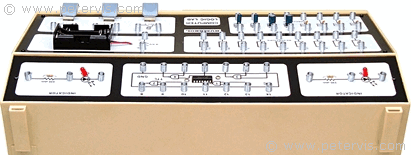

Inside View
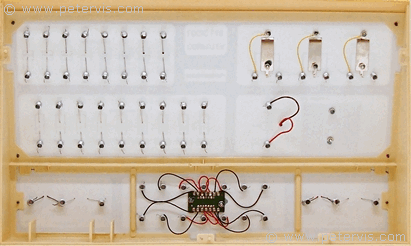

I bought this Computer Logic Lab pre-used, and two of the gates were not functioning, hence, I decided to repair it. Repair takes around fifteen minutes depending upon your skill level, and this article might be useful for teachers with a system that requires repair. The 7400 integrated circuit (IC) can get damaged very easily, but it is not a huge deal, because it is easy to replace it. The IC gets damaged because before you know it, your whippersnappers will be experimenting with new high-speed oscillator circuits and making shorts, and eventually one or two of the gates will stop functioning.
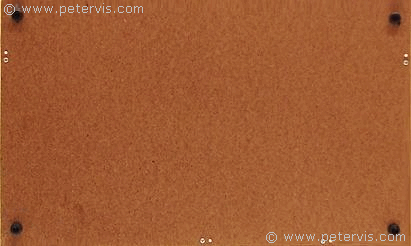
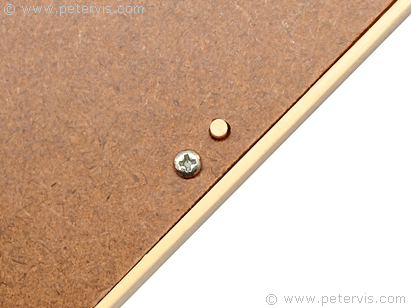
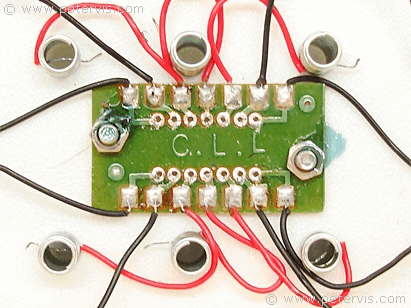
This lab has a hardboard base and undoing some obvious looking screws gives access to all the components inside. Hence, you can change any of the components, such as the LEDs and resistors. The IC is on a small printed circuit board (PCB), and a few screws secure it in place. You need to desolder only the inner set of pads to remove the chip, and do not have to remove the PCB.
If you are an educator or teacher, whichever the case may be, you may wish to install a chip socket instead. This way, you can easily replace the IC in the future, when other whippersnappers damage it. As you can see, there is sufficient space to install a 14-pin chip socket as I have done here. An advantage of using a socket is that you can try out different versions of the 74 series to see if it improves the circuit performance.
Removing Hardboard Base
Desoldering 7400 IC Chip
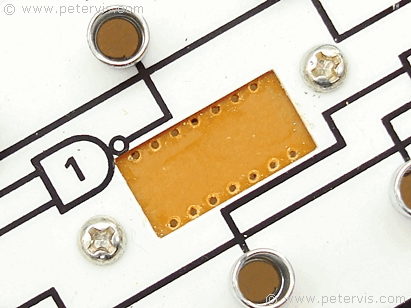
Installing Chip Socket
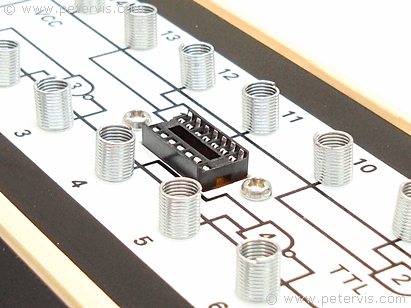
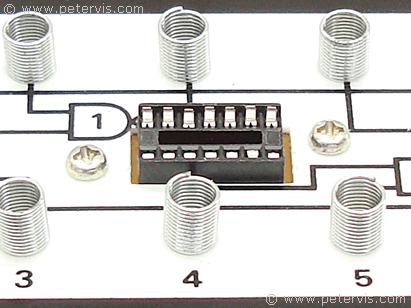
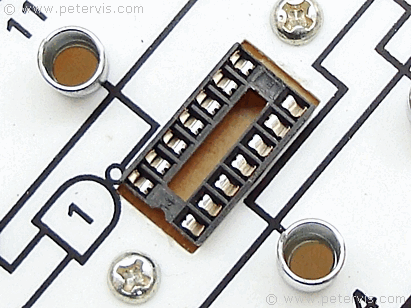
Installing 7400 IC
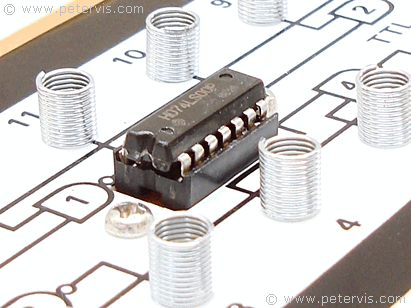
This Article Continues...
Computer Logic LabComputer Logic Lab Repair
Computer Logic Lab Box
Computer Logic Lab Review
Computer Logic Lab Design
