Nakamichi AV-8 Service and Repair

The switches on the Nakamichi AV-8 front panel allow the user to select the input source from the back sockets. When the user presses a button at the front, the main microprocessor relays that information to the main board through the serial bus. When the audio switching ICs receive the selection information, they make the necessary connections to allow the correct audio signal to pass through to the preamplifier stage. If for some reason the serial bus stops working or develops a fault, then one can imagine that none of the inputs will work as the audio switch ICs remain in standby mode. In this Nakamichi AV-8 design, the audio switch ICs are on the main board and one under the heatsink assembly. Therefore, in order to diagnoise the fault, I had to take it apart down to the main board.
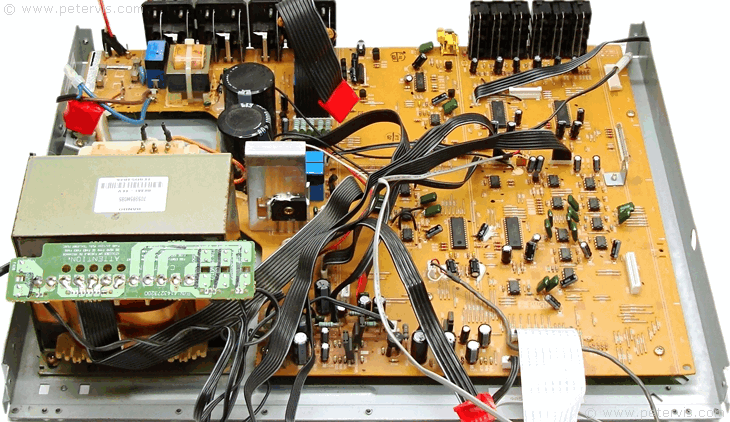

Naturally occurring faults are usually easier to diagnose than man-made ones, however ultimately it is more challenging and rewarding. In a large amplifier system that has multiple boards and subsystems, the diagnostic technique is usually elimination of the obvious; otherwise, you could end up chasing your tail. You have to be willing to take the whole amplifier apart to get to the fault and therefore it is usually a good idea to start by removing the non-essential boards from the system. I started by removing the tuner board, and the digital board, as they were least likely to have any problems. Even without these boards, the amplifier exhibited the original fault, so that was a good indication that I was on the correct trail.
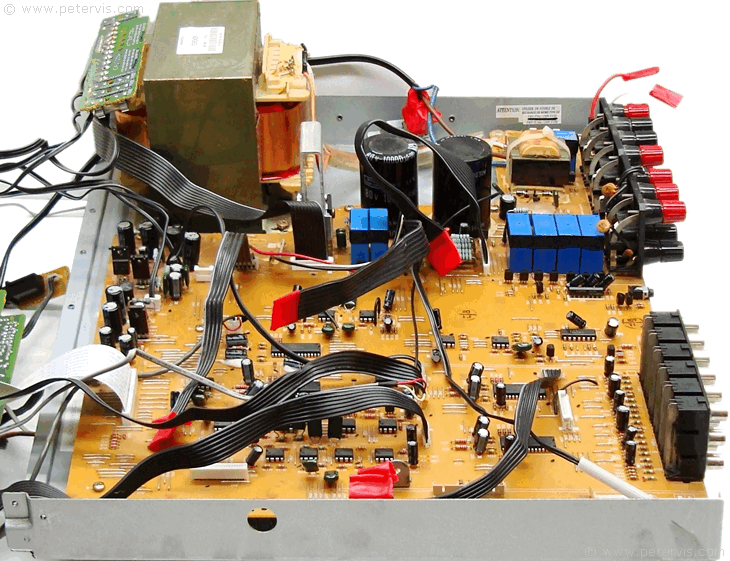
There were four layers of faults in this amplifier. One was a short in the input-selector logic system, the second was a crack to the mainboard PCB, the third was burnt-out surround channel, and the fourth was the case of the missing mica insulators. In total, it took 52 hours to track all the faults, and all I had was my trustee meter and knowledge of Japanese amplifiers. Whilst the first three were a relatively cheap-fix, the burnt power transistors were expensive to replace.
The secret to good diagnosis is to get the right tools to get the most accurate information, and then use logic to diagnose the fault. In this case, I was starting without a manual (as I was waiting to receive one), and this Nakamichi amplifier is huge with a plethora of circuits and subsystems. I therefore decided to employ the reduction technique. It is similar to what Sherlock Holmes would do which is to eliminate everything as much as possible, and then whatever is left, no matter how improbable, may lead to the fault. With that in mind, I started to remove each board, and then test the amplifier to see if the problem persisted. I managed to eliminate every expansion board this way, and the only thing left was the front panel and the main board. Since the front panel has the microcomputer IC, which was working, my focus went on to the main board.
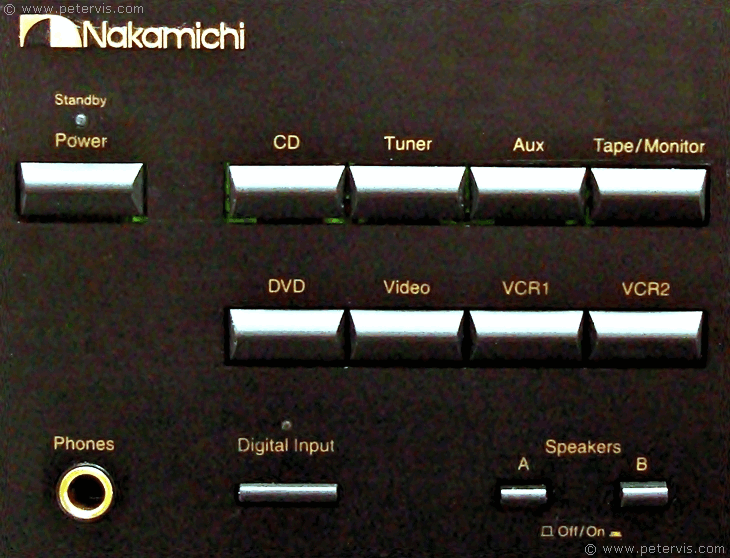
AV-8 front panel input selector switches.
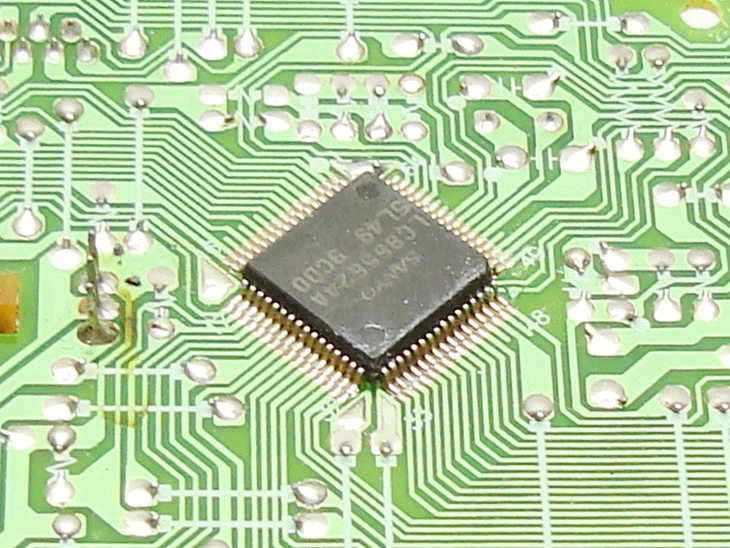
The LC865624A is the main microcontroller manufactured by the Sanyo Corporation.
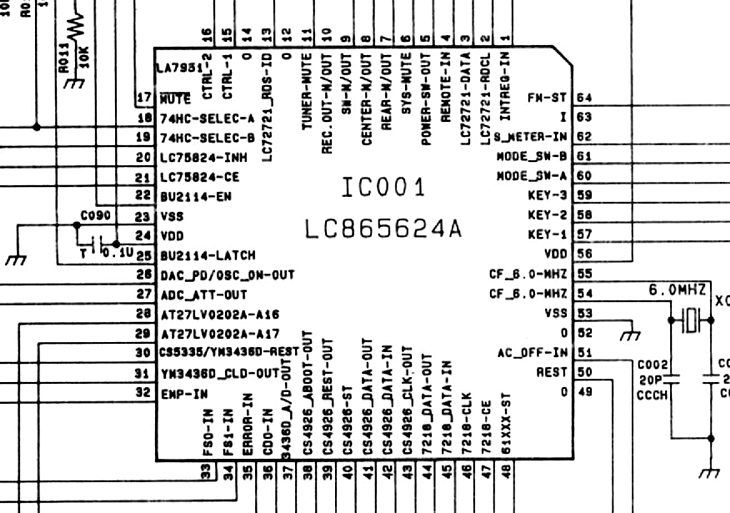
The serial bus originates from this IC001 (on the front panel PCB) at pins 47, 46, and 44.
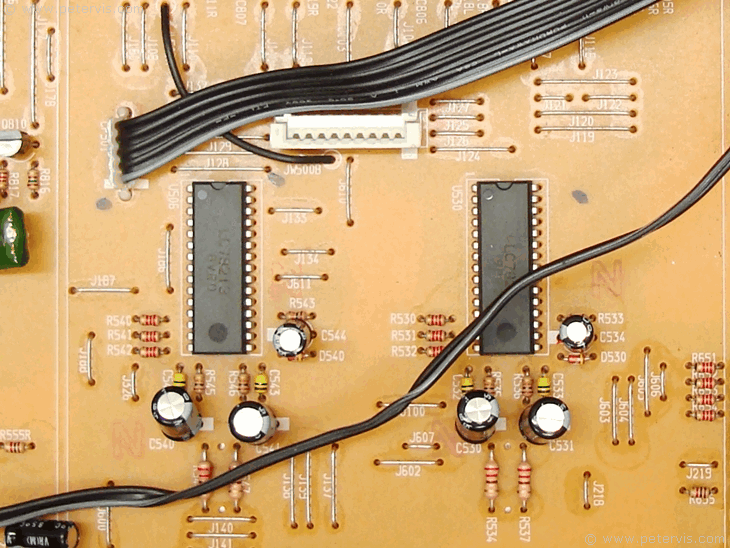
The first stage switching consists of LC7821 and LC78213 "audio switch" ICs. These ICs perform the switching of the inputs and receive information from the main processor (on the front panel) through a serial bus.
Feeding an analogue sound signal through the CD inputs should end up on pin 1 (left channel), and pin 30 (right channel) of the LC7821 IC. This audio signal should then emerge from pin 5 (left channel), and pin 26 (right channel), if the IC was operating, however there was no signal coming out. This indicates that either the serial bus that sends the selection data may not be working or the IC may not be working. However, the only way to be sure was to take more measurements and readings. Using a meter, I checked the power supply reaching the IC. Pin 12 is Vee, pin 19 is Vdd, and pin 16 Vss. Sure enough, the correct voltages were present; however, the chip was producing large voltages through the serial bus pins (CL, DI, CE). This indicated that the IC may have an internal short and therefore it required replacing. After replacing this IC the audio signal was emerging from pins 5 and 26, and feeding the next switching stage to LC78213.
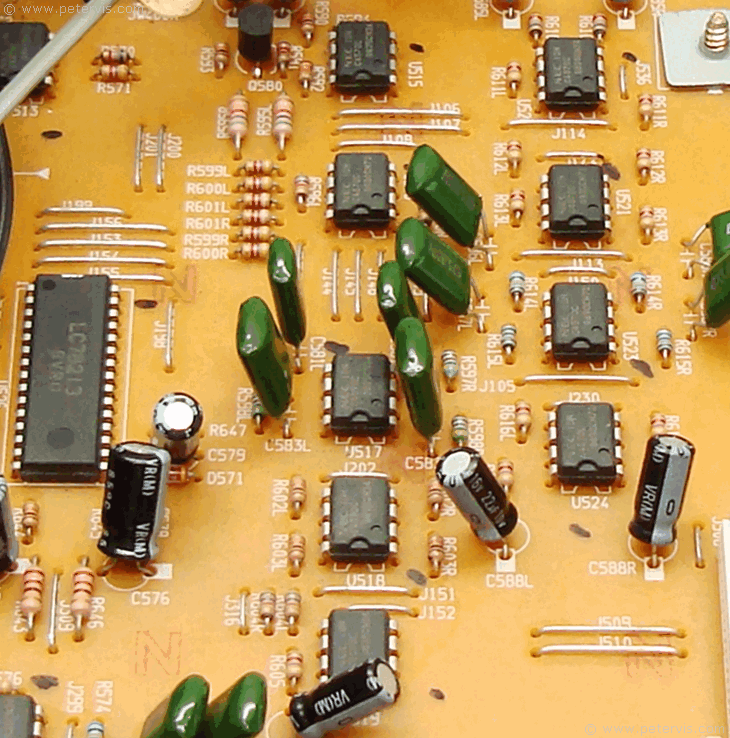
The main board has a plethora of op amps; hence, it can take a couple of hours to trace an audio signal through the maze.
This Article Continues...
Nakamichi AV-8Nakamichi AV-8 inside Look
Nakamichi AV-8 Heatsink Assembly Cleaning
Nakamichi AV-8 Audio Power Output Assembly
LC865624 Control Processor
Nakamichi AV-8 Service and Repair
Nakamichi AV-8 Front PCB
Nakamichi AV-8 Power Supply System
Nakamichi AV-8 Speaker Protection System
Nakamichi AV-8 Volume Control Board
Nakamichi AV-8 Digital Board
Nakamichi AV-8 Tuner Board
Nakamichi AV-8 Main Board PCB
Nakamichi AV-8 Back Sockets
Nakamichi AV-8 Specification