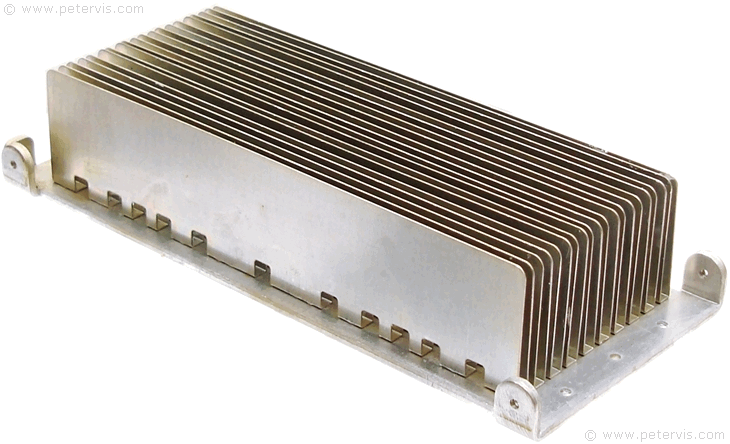
Nakamichi AV-10 Heatsink Assembly
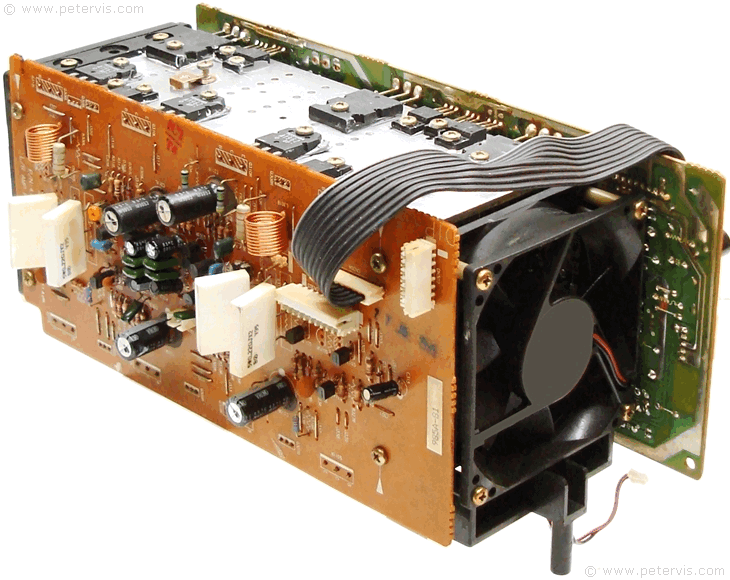

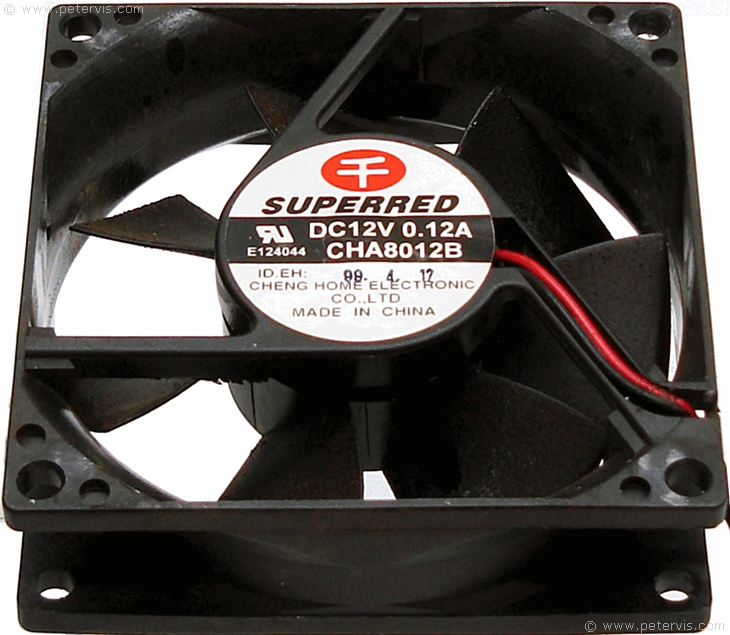
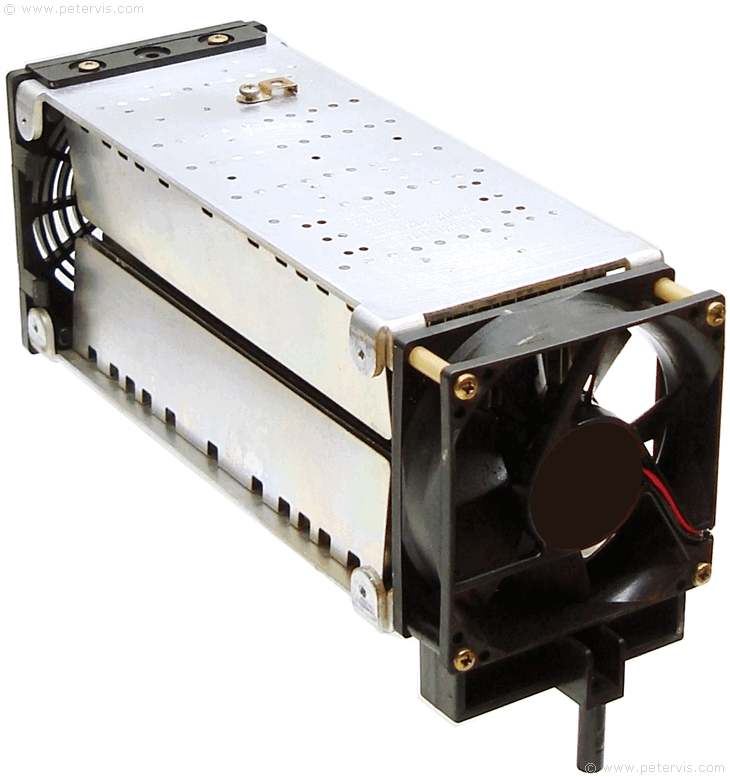
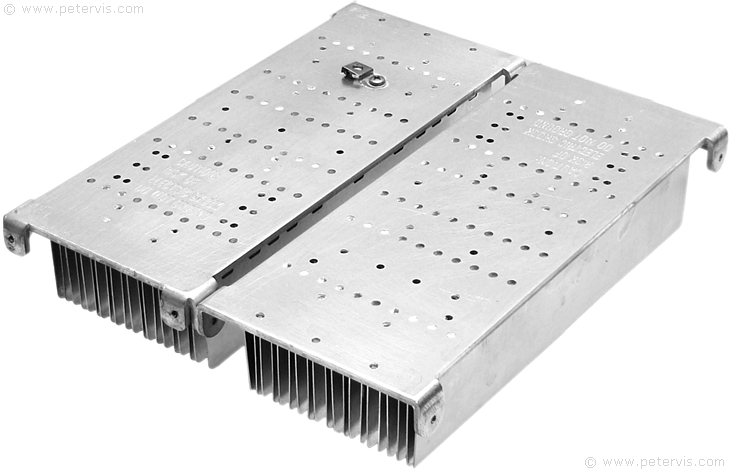
The Nakamichi AV-10 has an active cooling system consisting of a 12 V DC fan attached to the heatsink blocks. As you can see, the power amplifier boards then attach to the heatsinks. The fan is silent and low rpm, and one modification could be to install a modern fan that is higher rpm, which would provide more cooling. As you can see, servicing involves taking the assembly apart, to remove all the dust that clogs the heatsink vanes and lowers the flow of air. Thickly installed dried-up thermal paste also does not help much; therefore, it is better to remove the circuit boards as well. During assembly, I applied a new high performance heatsink compound to the transistors.
The most treacherous part of servicing this amplifier is when you connect the wires from the main board back to this assembly. My advice is to label each and every cable and make thorough notes, because many cables are the same size and it is easily possible to install them in the wrong place. Hence using a marking pen you should label the cables, and their sockets on the PCB, so that everything goes back exactly as you found it. I used two forms of marking, made written notes, and took photographs of every socket and wire. Many cables carry high-voltage split rail DC and if you installed them in the wrong place, then it could be catastrophic to say the least.
This Article Continues...
Nakamichi AV-10Nakamichi AV-10 Electronic Engineering
Nakamichi AV-10 Heatsink Assembly
Nakamichi AV-10 Front L/R Amplifier Board
Nakamichi AV-10 3-AMP PCB
Nakamichi AV-10 Repair
Nakamichi AV-10 Test Stage
Nakamichi AV-10 Digital Board
Nakamichi AV-10 VR PCB
Nakamichi AV-10 Servicing
Nakamichi AV-10 Transformers
Nakamichi AV-10 Back Sockets