Nakamichi AV-10 Repair
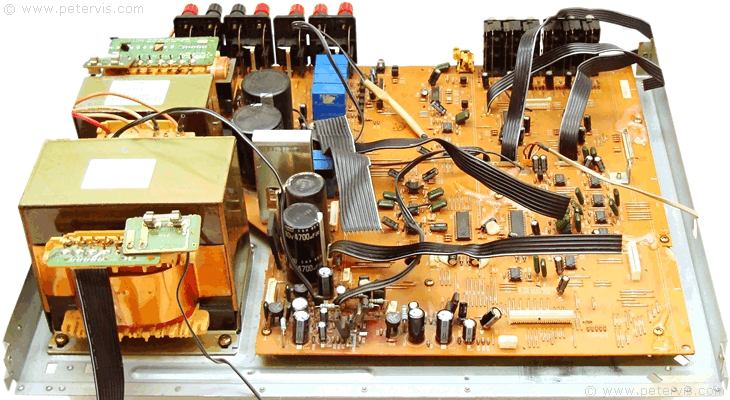
Repair of the AV-10 requires a fully qualified engineer with many years experience, and it is definately not a job for the hobbyist. As an Engineer, repairing high-end amplifiers is something I like doing, especially when the "experts" have had a go and given up. As well as a burnt channel, this amplifier had a broken main board caused by the courier. In addition, the amplifier had also gone to amateurs who had poked around the digital board (surround sound) and caused more faults before giving up, hence, this time I had my work cut out. After a lot of time spent, I managed to get the front channels working and decided to declare a victory and leave it at that because that is all I needed to see how well this amplifier sounds in stereo. It sounds very good and I like this harmonic time alignment (HTA) innovation.
After repairing the main board, I then had to check the audio power amplifier boards and heatsink assembly, and that meant taking it apart completely. It is always a good idea to make sure the transistors are in good condition. Apart from one transistor in the burnt channel, the others were fine; however, I decided to change both in the complementary pair.
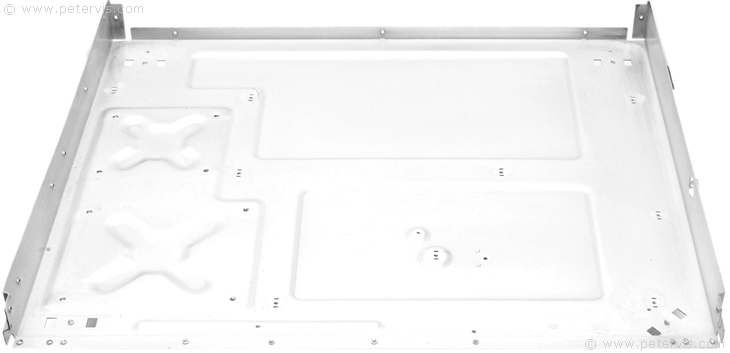
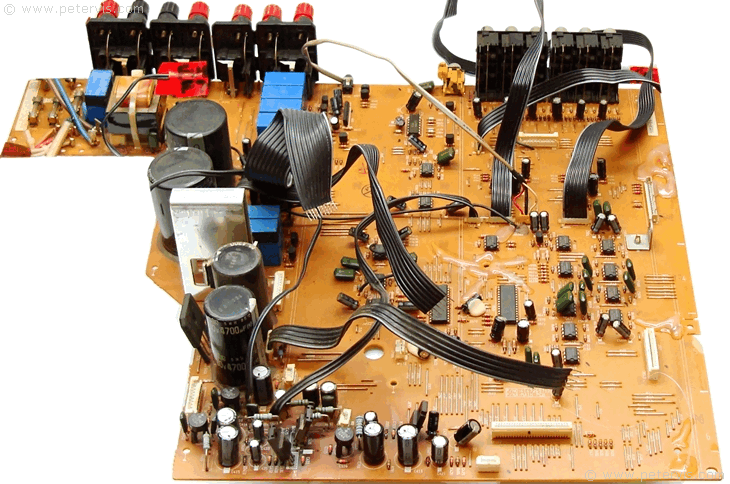
In order to repair it, I decided to take it apart down to the metal chassis. I needed to gain access to the printed circuit and the tracks, and that was the only way. In addition, all the diagnostics had to be done "cold" without power, however if you are an experienced engineer, then it makes very little difference. I managed to replace three components on the main board and it took me only twenty minutes.
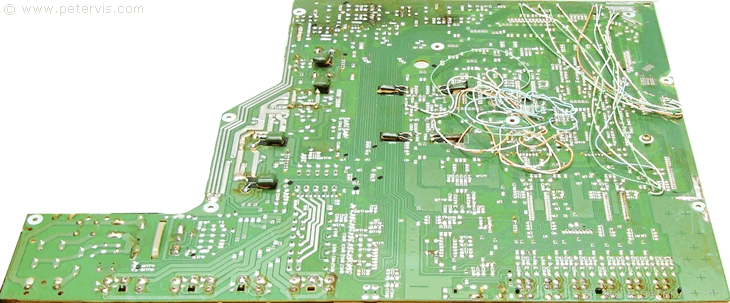
The main board had many cracks with broken tracks on both sides. My first thought was to completely throw away the main board and just use only the power amplifier section, which consists of the two boards attached to the heatsinks. I was very tempted to make my own design based around the HTA power amplifier section by using my own preamplifiers for a bi-amp solution, where the bass and tweeters are driven separately. However, in the end I decided to persevere and repair the main board by bridging all the broken tracks. Each break in the track had to be traced and bridged with solid core copper wire. In addition, each crack had to be reinforced with hot-melt glue on the component side. It took the complete duration of my Christmas holiday.

This Article Continues...
Nakamichi AV-10Nakamichi AV-10 Electronic Engineering
Nakamichi AV-10 Heatsink Assembly
Nakamichi AV-10 Front L/R Amplifier Board
Nakamichi AV-10 3-AMP PCB
Nakamichi AV-10 Repair
Nakamichi AV-10 Test Stage
Nakamichi AV-10 Digital Board
Nakamichi AV-10 VR PCB
Nakamichi AV-10 Servicing
Nakamichi AV-10 Transformers
Nakamichi AV-10 Back Sockets