STK465 chip Replacement - STR-242L Repair
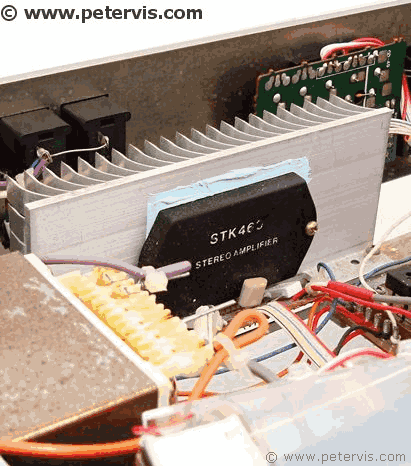
Replacing the STK465 chip was straightforward; however, I came across some difficulty in procuring a replacement chip. The first one sent to me turned out to be faulty, and the second one turned out to be a fake and faulty. In the end, I decided to purchase it locally.
Please note, that if you are not a qualified and experienced engineer, you should never attempt any kind of repair to electronic items. These notes are for qualified engineers only.
Soldering and desoldering 16 pins can be very time-consuming, and soldering too many times will result in the copper pads detaching.
If you are getting a hum and a large DC voltage from the output pins, then chances are that the chip has failed. For information on troubleshooting faults, I have an article on the Sanyo STK465 that might help.
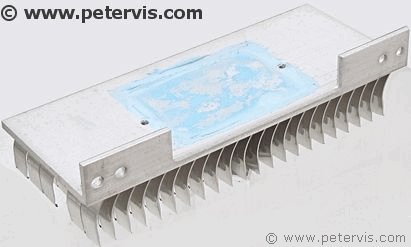
This one appears to have a blue coloured thermal compound. It had become hard and required removal.

Here is a cleaned heatsink. The best place for cleaning it is the kitchen sink, with a steel scouring pad. However, if you have the big bucks, then you can use a cleaning spray as well.
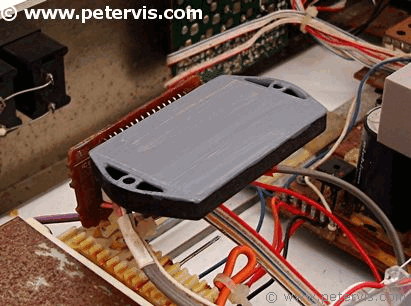
I applied a very thin layer of heatsink compound to the aluminium side of the chip. It has to be a very thin layer.
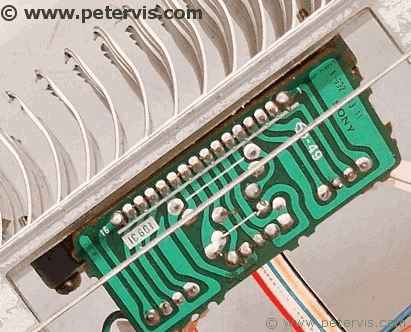
Here are the pins soldered and the flux cleaned away with a solvent spray.

Finally, here is the newly repaired amplifier. This was a success story showing a professional job carried out at Vis Labs...
This Article Continues...
Sony STR-242LSony STR-242L Inside View
Sony STR-242L Power Supply Unit
STK465 Chip Replacement - STR-242L Repair
Sony STR-242L Tuner Design
Sony STR-242L Back Sockets
Sony STR-242L Chipset
Sony STR-242L PCB
