Psion Series 5 Screen Cable
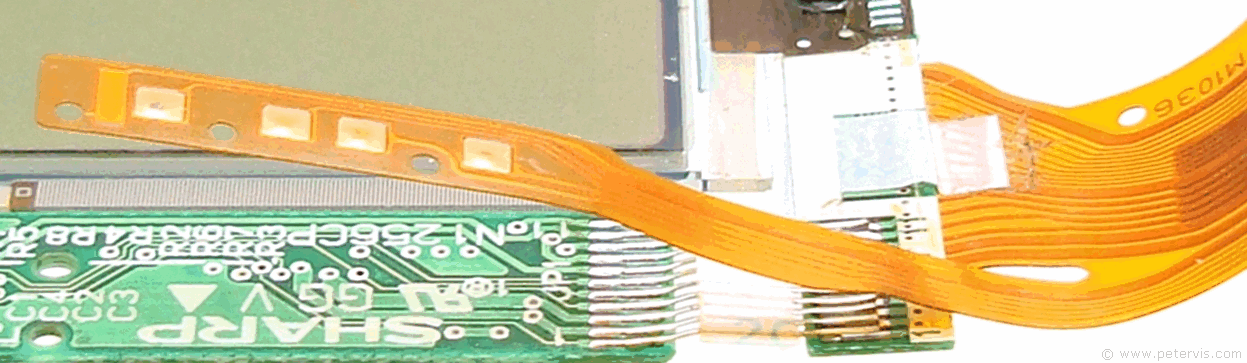
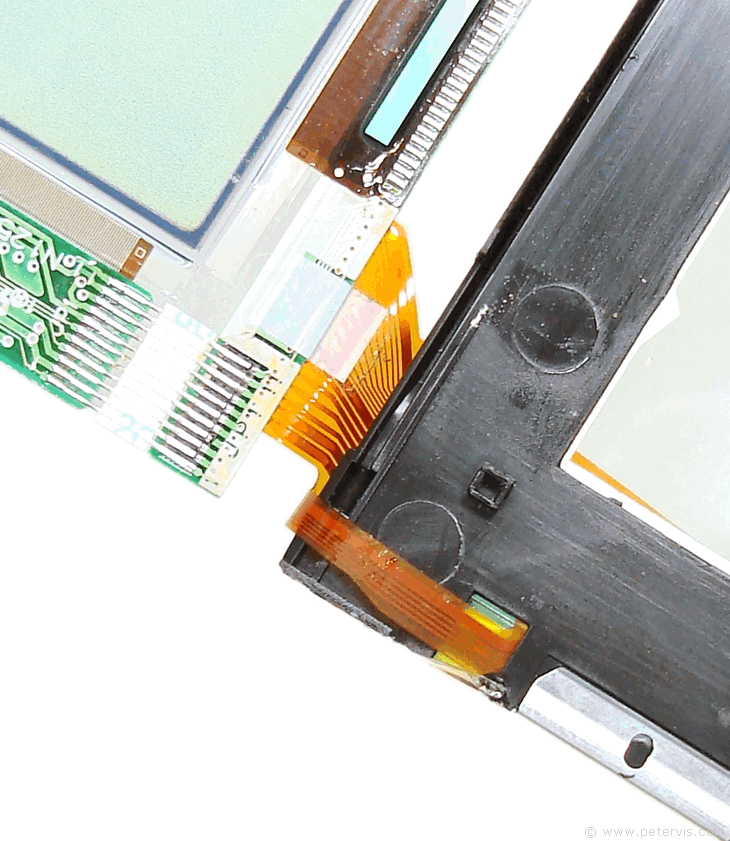
The Psion Series 5 screen cable has a fork where one part connects to the LCD panel, and another part connects to the touch screen digitizer. The small thin cable that goes to the digitizer is easily removable by first removing the metal clip at the edge, which secures it.

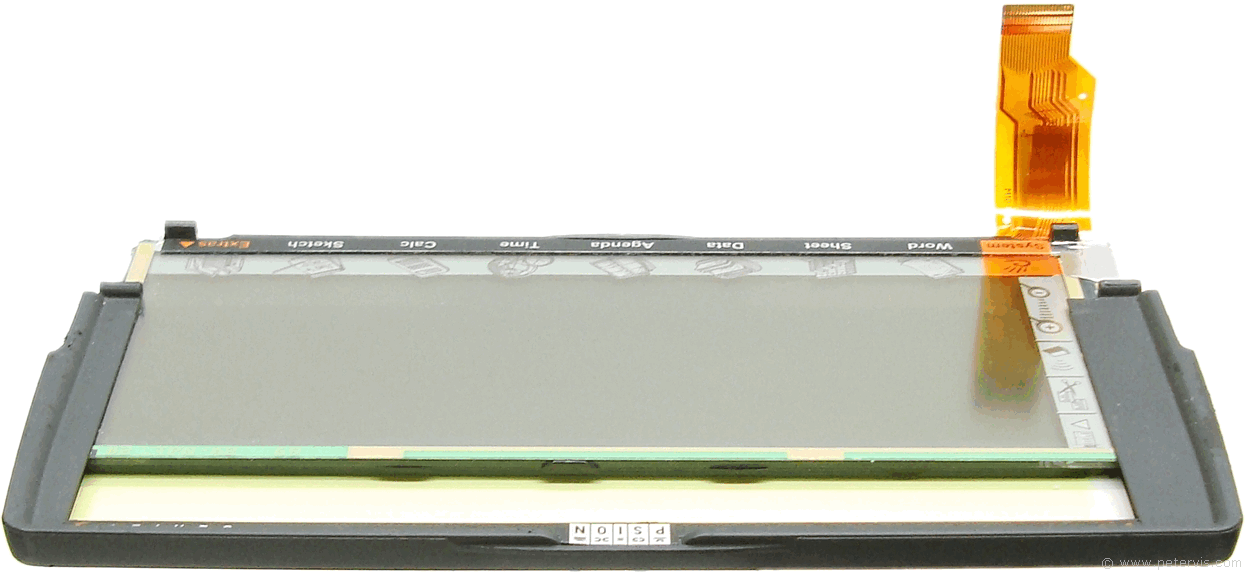
After the removal of the spring wire hinge pivots, the LCD panel together with the digitizer assembly usually slides out.
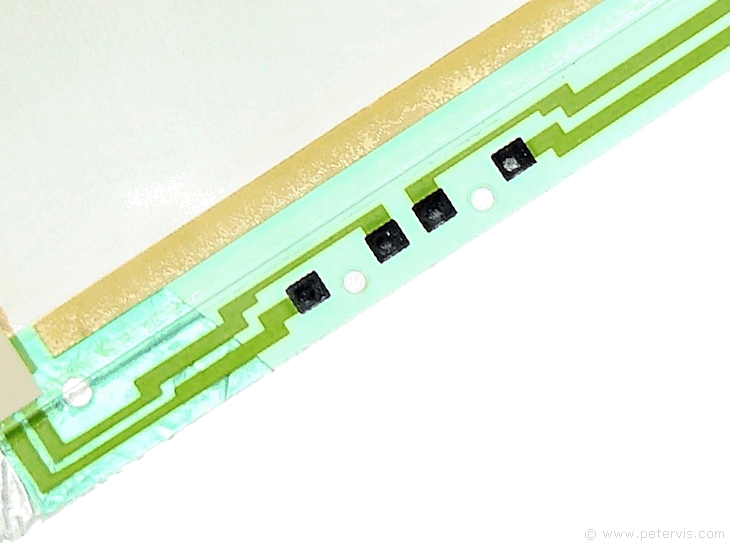
As you can see, the digitizer part of the ribbon cable simple mates with the four contact pads and remains in place due to the metal clip.
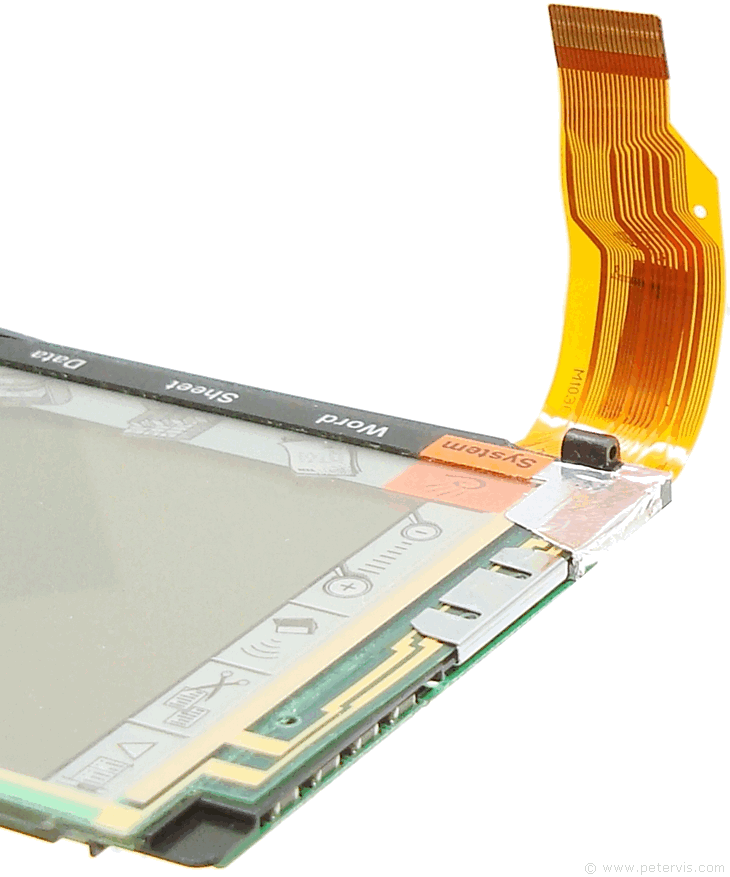
The wider part of the ribbon cable connects to the LCD panel and here they solder it in place. Therefore, you will need to desolder to remove the old broken cable and solder a new one in its place. Make sure you use as little heat as possible as you could melt the cable.

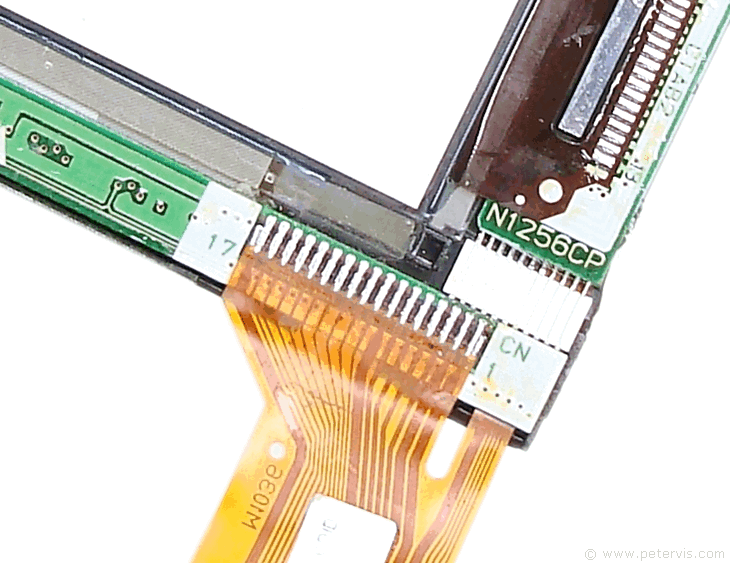
This is what the correct original screen cable for the Series 5 looks like.
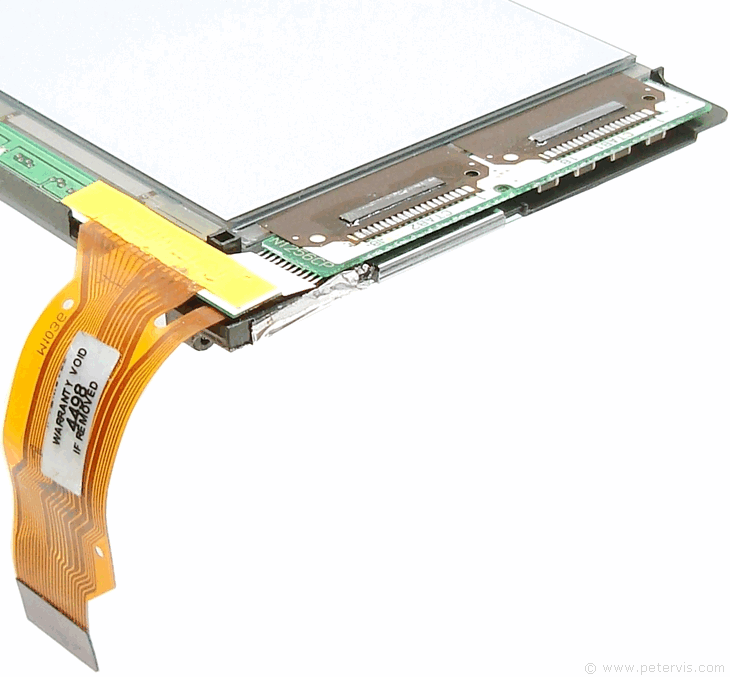
As you can see, the cable forks, and goes to different parts of the LCD assembly.
This is where the digitizer part of the screen cable makes contact, and the metal clip at the edge holds it in place.
This Article Continues...
Psion Series 5Keyboard
Battery
Removing the Back Cover -- Disassembly
Stylus Pen
Electronic Engineering
CPU Processor
Compact Flash Card Slot
Memory Board -- Repair
Removing the Motherboard
Motherboard -- Memory Side
Motherboard -- Processor Side
Hinge Wire Repair
Removing Hinge Pins -- Disassembly
Screen Cable
Power Supply
RS-232 Serial Port
Voice Recorder