Nokia 3310 Ribbon Cable Soldering
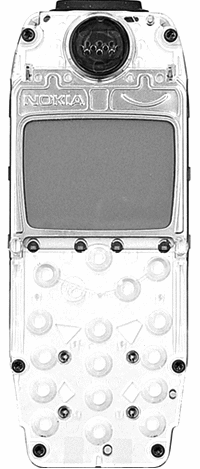
In order to solder wires to the four copper pads, it is necessary to disassemble the Nokia 3310 to gain access to the PCB. Six Torx screws secure the outer layer of the phone, which requires removal first.
Nokia 3310 PCB

In this photograph, you can see the four copper pads on the printed circuit board. When the board is outside, it is possible to solder onto it without any difficulty. It is probably a good idea to keep the soldering to a minimum. The soldering iron was set to the lowest temperature possible for soldering. I took special care to ensure there were no solder splashes.
Soldering the Ribbon Cable

I prepared four thin pieces of wire and soldered them onto the copper pads. The other ends threaded through the ribbon cable pads. They were then trimmed and soldered. When soldering on the ribbon cable minimum heat is applied.
This Page Continues
Nokia 3310 Port Mod & Firmware FlashingNokia 3310 Ribbon Cable Soldering
Nokia 3310 Ribbon Cable Folding
This Article Continues...
Nokia 3310 Spy Phone ModBMC-3 Battery
M Bus Serial Cable Circuit
Nokia 3310 Parallel Flashing Cable
Nokia 3310 Firmware Flashing Cable & Circuit
Nokia 3310 Port Mod & Firmware Flashing
Testing MBus for Nokia 3310
DCT3 Flasher by Rolis to Back up the Firmware
Nokia 3310 Firmware Updating
Flashing the Nokia 3310
Nokia 3310 Flashing FAQ
Voice Stress Analyser - Lie Detector
Nokia 3310 Network Monitor