bigtrak Circuit Board
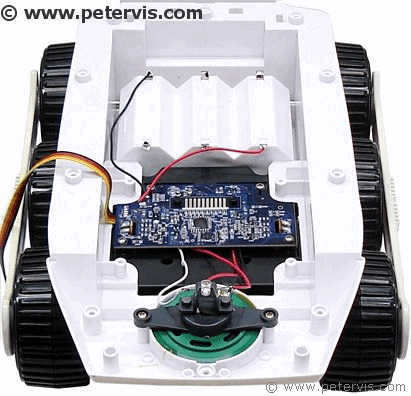
If your soldering is accurate, it is possible to desolder the circuit board from the motor terminals whilst the gearbox was still in its place; however, there is a strong risk of damaging the plastic with the soldering iron. Therefore removing the whole gearbox might be a good idea.
Removing the circuit board is simple. As you can see, it remains affixed to the gearbox, so removing the gearbox will also bring the PCB out as well. The first step is to desolder the wires to the battery terminals, speaker, and LED. Then flip the toy over and undo the four screws that secure the gearbox.
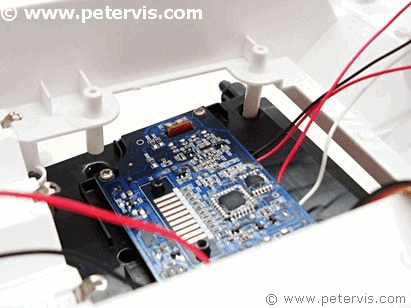
As you can see, the gearbox will simply drop off when the screws are undone and the wires desoldered.
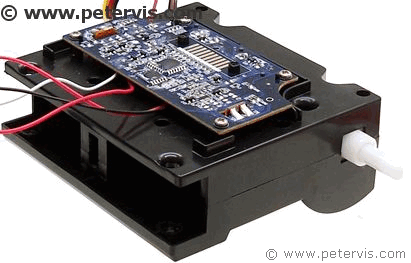
Once the gearbox and PCB are out, there is plenty of space to do the desoldering.
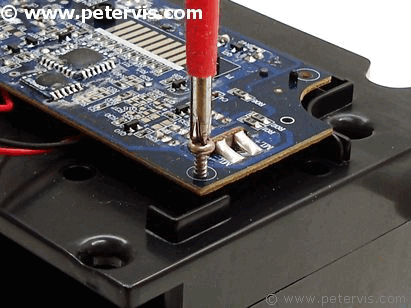
Perhaps it is better to remove the screws that secure the PCB to the gearbox.
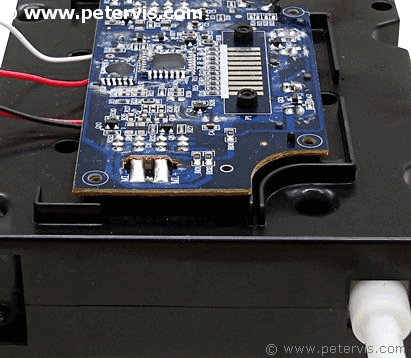
As you can see, there are just two solder points that require desoldering. A good quality solder sucker is required to remove the solder that fixes the PCB to the motor terminals. You could use a desoldering braid, but you will be spending money, and your solder sucker is free.
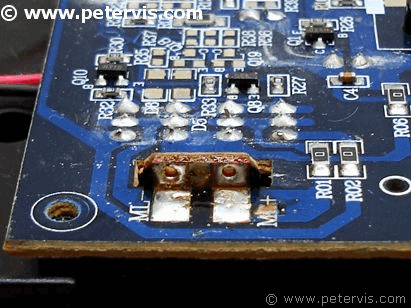
The motor PCB slots into the main circuit board. After removing the solder, they are free to go their own separate ways.
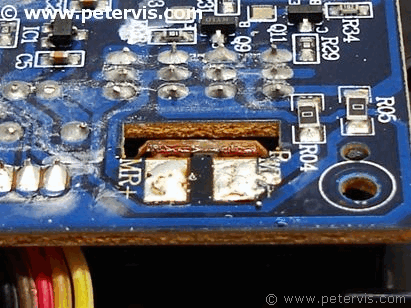
After desoldering the other motor PCB, the main PCB detaches easily.
This Article Continues...
bigtrakbigtrak Commands
Opening the bigtrak
bigtrak Gearbox
bigtrak Motor
bigtrak Circuit Board
bigtrak Encoder
bigtrak Power Switch
bigtrak Removing the Wheels
bigtrak Facelift - The bigBrit Mod
bigtrak Facelift Modification
bigtrak Circuit Diagram - H Bridge Motor Driver
bigtrak Circuit Diagram - Encoder Servo
bigtrak Circuit Hack
bigtrak Speaker - Battery - LED - Wiring
bigtrak Ribbon Cable
bigtrak With Raspberry Pi
bigtrak Battery Cover and Compartment
bigtrak Front Suspension Mod
bigtrak Modifications Log
bigtrak Painting Wheel Rim Modification
Buying a bigtrak
