bigtrak Facelift - The bigBrit Mod

Painting all the parts was no ordinary feat. I had to take the whole toy apart, and spray paint each part separately for a professional job.
The first step was to remove all the retro stickers. The glue -- as well as the design -- was very tacky. The stickers fool nobody, and it makes the whole thing look cheap, they had to go. It was obviously somebody’s nightmare of the future... I was always expecting "Huggy Bear" to pop out from under the cockpit because those side arrows were reminiscent of that 80s car in the "Starsky and Hutch" television series.
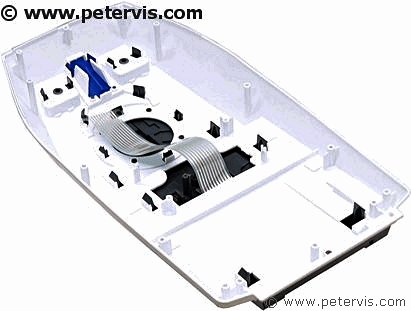

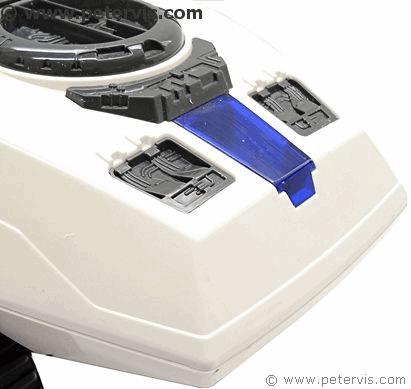
The front part of this toy is rather similar to the Battlestar Galactica, from that 80s series. However, a two-tone paint scheme should help to detract from that look, and make it more like a Mars Rover or buggy. That is the business plan, and for the rest, I will just have to wing it!
In 2014, you cannot have blanked off headlights. It just does not look right. I will have to do something here and install proper LEDs with clear plastic.
I decided to use hot water to remove the stickers and the glue. All the surfaces required cleaning with a green scouring cloth and some washing up liquid. This removed any oil, and remaining glue, and the surface was ultra clean for spraying. You could put the whole lot in the dishwasher, but be prepared for the wrath of the wife. They do not like it when you wash things in there. I call mine Kahn -- The dishwasher that is...
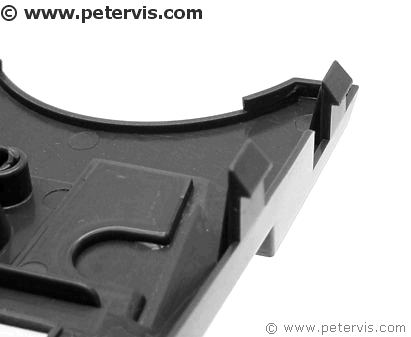
As you can see, all the trims come detach because plastic locking tabs secure them.
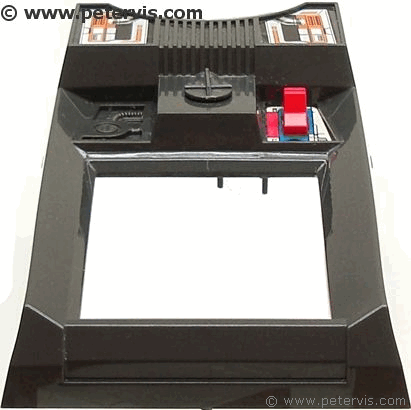
I have always thought that the keypad bezel should be silver to represent metal. The wheels also lacked a metal coloured wheel rim and hub. It is actually there in moulded plastic, but they probably decided not to paint it due to cost. I know how it works as I have been there. You have a great design with everything, then you go to China and they give you the cost of manufacturing it. You come away with only half of what you wanted...
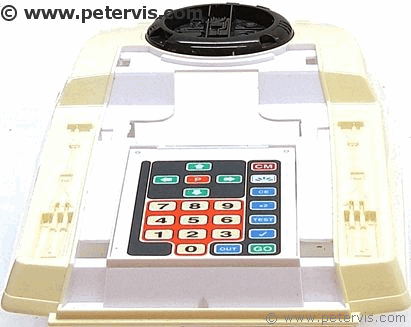
With the bezel removed, you can see that mine has turned yellow. Since this is a replica anyway, I decided to paint mine. I chose to paint mine red because that and silver were the only colours left at the pound store. I wanted to paint the whole thing red, but instead decided to do only the top half. A red top-half with the white bottom looks much better.
I also wanted to use blue, however, there were no cans for blue paint at the store, and I did not want to spend a fiver at the motor store for specialist paint. However, there is still some blue on the key pad. Since it has the colours red, white, and blue, and I am a proud Briton, I decided to call this "The bigBrit Mod".
The top half received one coat of primer and then six very thin coats of paint one hour apart. The results were astounding and I was very pleased. I managed to get a very smooth and shiny gloss that looks professional. This page is getting too long, hence, for the results; you will have to look at the modification articles.
This Article Continues...
bigtrakbigtrak Commands
Opening the bigtrak
bigtrak Gearbox
bigtrak Motor
bigtrak Circuit Board
bigtrak Encoder
bigtrak Power Switch
bigtrak Removing the Wheels
bigtrak Facelift - The bigBrit Mod
bigtrak Facelift Modification
bigtrak Circuit Diagram - H Bridge Motor Driver
bigtrak Circuit Diagram - Encoder Servo
bigtrak Circuit Hack
bigtrak Speaker - Battery - LED - Wiring
bigtrak Ribbon Cable
bigtrak With Raspberry Pi
bigtrak Battery Cover and Compartment
bigtrak Front Suspension Mod
bigtrak Modifications Log
bigtrak Painting Wheel Rim Modification
Buying a bigtrak
