Servicing the Sharp CE-152
The CE-152 arrived completely dead showing no signs of life, so I cleaned the battery terminals and used a meter to verify that power was reaching the printed circuit board, however it was still dead. I did not have a circuit diagram, however I managed to find a pinout of the IC, so I decided to feed 6 V DC directly to the power pins of this IC. This is very much analogous to an IV drip in a human patient, and luckily, my patient whom I am going to call Lazarus came back to life! For a while I sat there with a proud grin because it took me six minutes tops to diagnoise and bring it back to life, and even Yeshua would have been proud! Sure it was a miracle and a good thing, however he had to die in the first place.
The Lazarus Mission

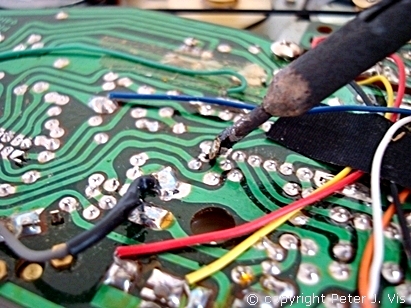
The problem with Lazarus was that he had taken many years of abuse, which had caused dry solder joints in his PCB. In this case, it was just a matter of identifying the dry joints and soldering them again.
Cleaning the Tape Path

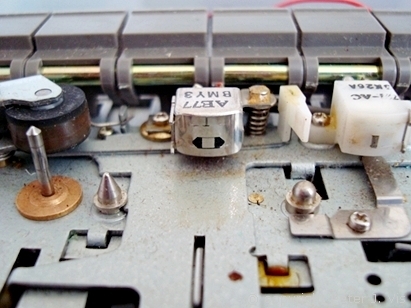
As you can see, the cassette deck had accumulated a huge amount of dust, and there was ferrous oxide on the pinch rollers and capstan spindle. I decided to give it a good clean with some de-natured alcohol.
Speed Calibration

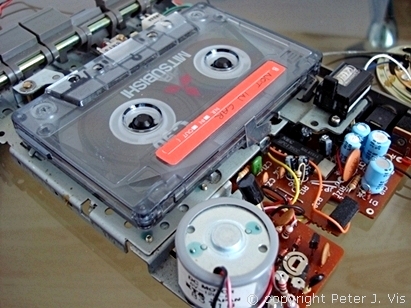
I decided to play my favourite 1980s pop songs to test the cassette player. It was my favourite mix tape of Madonna the first album! Unfortunately the speed seemed a little slow, hence I decided to calibrate the speed.
To calibrate the speed one requires a 3 kHz (0 dB) signal from a special calibration tape. This tape plays on the cassette recorder, and the output test signal is usually measured on an oscilloscope or a frequency meter. I adjusted the speed control preset on the motor regulator PCB, and set it between 2,970 Hz and 3,030 Hz, which is good enough for these machines. I also checked the frequency deviation at the beginning and end of the tape to make sure it was within 1.5 % (45 Hz).
Head Alignment
Since I already had the oscilloscope connected, I decided to check the head alignment as well. This requires another test cassette for adjusting the tape head azimuth, and this too was set to the proper alignment as well. After all the calibrations and adjustments, Madonna sounded perfect on this cassette recorder.
This Article Continues...
Sharp CE-152 Tape RecorderSharp CE-152 inside Look
Sharp CE-152 Tape Transport
uPC1350C Audio Amplifier IC
µPC1350C Circuit Diagram
Sharp CE-152 PCB
Sharp CE-152 Chassis
Sharp CE-152 Motor Drive
Sharp CE-152 – Original Condition
How to Clean Battery Terminals
Servicing the Sharp CE-152
Cleaning the Drive Belts
Data Cassette Mod for ZX81
6 V Power Supply – Sharp CE-152
It is Nice Again – Sharp CE-152
